All,
Stand by for some gratuitous pics of WWII US Marines in 15mm! I've got troops from Battlefront and Eureka, and some vehicles from Gaming Models and Zvezda. I've been painting my butt off the past year and a half, have completed a bunch of projects, and now I figure it's time to share some photos of them.

Here's the whole mess:
1 Company Commander
1 FO Stand
1 Corpsmen Stand
4 x Platoon Commander Stands
3 x HMG (M-1917) stands
2 x LMG (M-1919) stands
2 x Mortar (60mm) stands
6 x Engineer stands (2 x Flamethrower, 2 x Bazooka, and 2 x Satchel/Pole charge)
1 x Pack howitzer (75mm) stand
1 x Anti-Tank Gun (37mm) stand
12 x Rifle Stands
2 x LCVP
1 x LVT
1 x Jeep
The whole mess again, laid out on my beach mat from War Sigil.
Landing Craft, not sure they're manufacturer, bought them on Ebay.
The Amtrac and Jeep are from Gaming Models, the Stuart is from Zvezda. I need to get a few more Amtracs.
Marine heavy weapons: ATG, pack howitzer, mortars, and machine guns.
Marine Engineers: flamethrowers, bazookas, and satchel/pole charges.
The Marine Command Element.
And four rifle platoons.
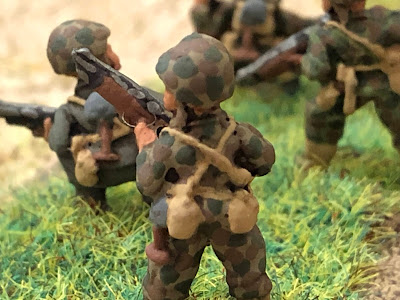
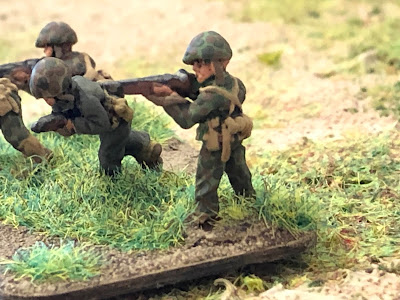
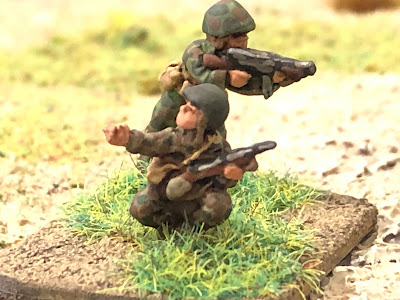
Alright, so let's get to the closeups. This is the gratuitous part; I spent way too much time doing the paintjobs on the jarheads, way more time than I'd normally spend on multi-based stands. I usually only put this kind of detail on singly-based skirmish troops; don't misunderstand, they're not beautiful, but I really went for the late-Solomons 'band of gypsies' look of the worn out Gyrenes on Bougainville and Tarawa, with mixed uniforms and helmet covers. If you look closely you'll see 'green-side out' camo, 'brown-side out' camo, and standard Marine green dungarees, with green- or brown-side out helmet covers, and the occasional Marine with no helmet cover. Furthermore, you'll see uniform pieces mixed and matched quite a bit.
Alright, so let's get to the closeups. This is the gratuitous part; I spent way too much time doing the paintjobs on the jarheads, way more time than I'd normally spend on multi-based stands. I usually only put this kind of detail on singly-based skirmish troops; don't misunderstand, they're not beautiful, but I really went for the late-Solomons 'band of gypsies' look of the worn out Gyrenes on Bougainville and Tarawa, with mixed uniforms and helmet covers. If you look closely you'll see 'green-side out' camo, 'brown-side out' camo, and standard Marine green dungarees, with green- or brown-side out helmet covers, and the occasional Marine with no helmet cover. Furthermore, you'll see uniform pieces mixed and matched quite a bit.
Let's get to it!
First up, a heavy machine gun platoon of three water-cooled M-1917s, from Eureka.
A closer look at one of the gun crews.
Here you can see the NCO (standing) and assistant gunner have dungaree pants with green-side out tunics and helmet covers, while the gunner is dressed entirely in green-side out camo.
Another gun team, this time with the NCO (standing) completely in green-side out, while the gunner is in dungaree pants with brown-side out tunic and helmet cover.
The assistant gunner is wearing dungarees, brown-side out tunic, without a helmet cover.
I like the Eureka M-1917s much better than the Battlefront M-1917s, which appear to sit too low on their tripods. The Eureka minis are nice sculpts as a whole, though a little small, and I don't like that every single one of them has their leggings on with trousers perfectly bloused into them. It just looks to uniform to me, whereas pics from all the major fights show the Marines running around with their pants untucked. Having said that, they're perfect if you want your Marines to match the guys from 'Sands of Iwo Jima.'
I like the Eureka M-1917s much better than the Battlefront M-1917s, which appear to sit too low on their tripods. The Eureka minis are nice sculpts as a whole, though a little small, and I don't like that every single one of them has their leggings on with trousers perfectly bloused into them. It just looks to uniform to me, whereas pics from all the major fights show the Marines running around with their pants untucked. Having said that, they're perfect if you want your Marines to match the guys from 'Sands of Iwo Jima.'
The last gun team has an NCO (with Thompson SMG) in brown-side out trousers and tunic, no helmet cover, while the gunner and A-gunner are both in dungarees with brown-side out helmet covers.
Another look at the same crew.
And one more, from above.
A look at the two air-cooled M-1919 machine gun teams, also from Eureka.
A look at one of the gun teams.
And the other.
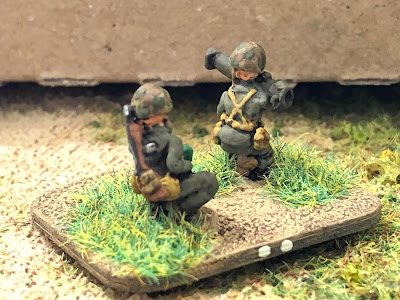
The two 60mm mortar teams.
I really like the gun crew commander on the radio (far right).
So here's a closeup of just him, all in green-side out camo.
Another look at that same mortar crew, radioman at far left.
The other mortar team.
Again.
The 37mm M-1 anti-tank gun. The crew is from Eureka while the gun is from Battlefront. You can see a great mix of different uniforms in this photo.
Reverse.
And from behind.
And the 75mm pack howitzer. Again the crew is from Eureka and the gun is from Battlefront.
Opposite.
Here we go, the two Marine flamethrower teams! All of the engineers are from Battlefront.
The first team is in the late war standard dungarees and brown-side out helmet covers.
While the other team's NCO is too, but the flamethrower operator is in brown-side out trousers and tunic and without a helmet cover.
Moving up, NCO pointing the way.
The two bazooka teams.
One sporting the late-war dungaree/brown-side out helmet cover.
The other sporting some camo.
From rear port quarter.
And rear starboard.
Two engineer teams with satchel charges and pole charges.
A good look at one of the Marines delivering a pole charge, which was used from the earliest island fights (Gavutu) all the way to the end (Okinawa). He's in the late-war standard dungarees with brown-side out helmet cover, while his partner has dungaree trousers, brown-side out tunic, and no helmet cover.
While the other team's pole charge dude is entirely in green-side out camo.
Reverse of the first team.
A good look at the 2nd team's assistant, Garand slung over his back and holding a satchel charge in his right hand.
The Command Element. The CO and FO stands are Battlefront, while the Corpsmen stand is from Eureka.
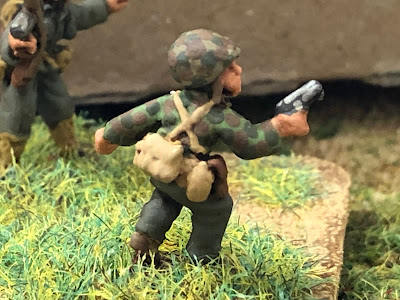
The Command stand has the Skipper (left), with .45 drawn, the XO (top left), with carbine and Walkie-Talkie slung, and the Company Gunny (right), with Thompson SMG.
The Skipper.
The Company Gunny.
The Skipper again.
The backside of the XO.
The backside of the Gunny. My webgear and packs are probably too yellow, but I wanted the colors to be uniform (didn't want to use different colors for guys wearing green-side out, brown-side out, and dungarees) and I wanted them to 'pop.'
The Forward Observer stand, with officer on the handset and radioman on a knee.
Reverse.
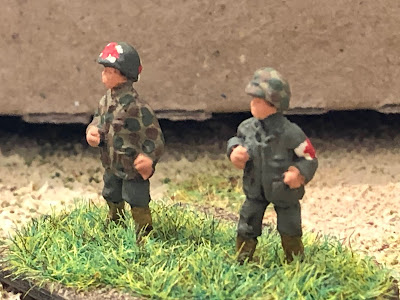
It doesn't really work out in terms of T/O&E, each platoon should have a Doc, but instead I used two unarmed Eureka gun crew members and made a Corpsmen stand. It works, but they don't have any gear on, which kinda stinks as a defining characteristic of the Docs is always their bag full of medical goodies (now called a "Unit 1," I have no idea what they called it back during WWII). And no, the Docs shouldn't have red crosses on them, but I wanted them to stand out.
The other side. The crosses don't look as bad in real life...
Reverse.
Their other side.
One of the platoon commanders; this really reminds me of pics of Tarawa, the Tommy Gun and M-1 carbine, both guys wearing dungaree pants with camo tunics and helmet covers.
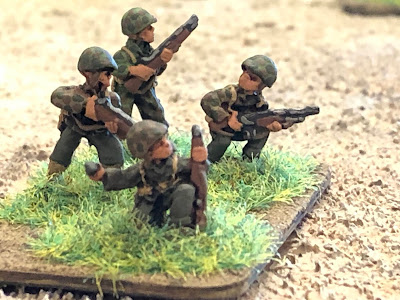
All the guys in the rifle platoons are from Battlefront.
All the guys in the rifle platoons are from Battlefront.
Reverse.
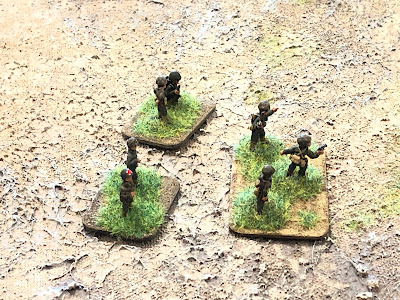
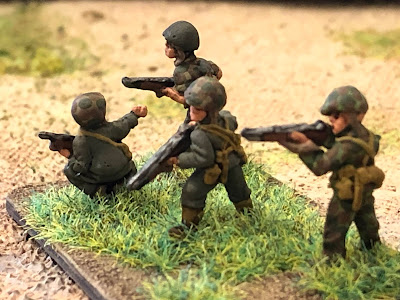
There are twelve rifle stands; I could comment, but there's not a lot to say, unless you want me to keep explaining the uniforms I painted on them. I suspect you're tire of that, so I'm just going to roll through, maybe make the odd pointer. Such as, I didn't have enough BARs because I bought a platoon pack and an engineer pack, but 9 of the 12 rifle stands have an automatic rifleman on them. Here you can see it's the guy kneeling at far right, while the other three Marines have M-1 Garands.
A close up of some brown-side out camo. I know there is a late-war version of brown-side out that didn't have any green, but the I chose to do the mid-war brown-side out that had khaki, medium brown, and medium green in it.
I really like the kneeling rifleman pose (bottom center).
The guy at far left, with E-tool fastened to his suspenders (rather than on his pack) and sleeves rolled up seems like the pose is straight out of Tarawa as well.
The dude at right bottom has a BAR spare barrel (not that I've ever really heard of it being used). And hard to see, but the bottom left guy is the BAR man.
A nice off-hand rifleman pose.
Another Platoon Commander. I put all the Tommy Guns on command stands.
Reverse.
"Get off the beach!"
"Frag out!"
I love the camo.
You can see here how I marked the stands (bottom left and bottom right): 3rd Squad, 2nd Platoon.
Hunched forward, advancing, trying to run between the rain drops.
Bam, Bam, Bam, Ping!
Another Platoon Commander; another nifty little Tarawa pose with an M-1 carbine. Kinda hard to see, but he's just squatting down on his haunches, waving his men forward.
Reverse.
Hmmm, little fuzzy...
Following Sergeant into Hell...
Great poses and proportions, in my opinion.
This BAR pose (top center) is probably my favorite.
Into the storm of steel.
From behind.
Ahh, I forgot! The last Platoon Commander stand is from Eureka, one with a Thompson and one with an M-3 'Grease Gun.'
Reverse.
That hunched down leader pose again, one of my favorites.
Reverse.
More Gyrenes moving up.
The guy in the middle looks like he's straight out of a recruiting commercial ;)
And the last rifle stand. These last three rifle stands were the ones I didn't have BARs for, had to use leader figures instead, and for this one I also had to sub in one of the engineers with a satchel charge.
Other side.
One last look at the boys, ready for combat.
Unfortunately I have not finished up their adversaries. As disciplined as I've been painting and basing (I've got a LOT more to show you), I'm running out of steam. I haven't had much time the past month because of Little League Baseball, but the spare time I have had has seen it very difficult to make myself sit down and paint. Here's to hoping I get over it quick, I can't wait to get my Marines in the Pacific campaign going again!
V/R,
Jack




















Excellent work, Jack! Very impressive collection of marines. Looking forward to seeing what you dream up for a campaign.
ReplyDeleteThanks Jonathan, looking at moving straight into Operation Watchtower, air-sea-land, just have to finish up my Japanese forces first…
DeleteV/R,
Jack
Those are fantastic. Keep up the great work!
ReplyDeleteThanks a bunch, and I’ll do my best to keep my nose to the grindstone.
DeleteV/R,
Jack
Outstanding Marines, Jack! Super good paint jobs on these Devil Dogs. You're almost making me want to get into the Pacific War. Almost!
ReplyDeleteThanks Steve, I appreciate it! Yeah, it's actually a pretty tough era to wargame. As despicable as the Nazis were, no problem finding people that will play as the Germans, but not really the case with the Japanese. They don't present a lot of tactical opportunities of interest, especially Tarawa and afterwards, where it's 'sit in bunkers then banzai until we're dead' (at least until Iwo Jima, then it's mostly 'sit in bunkers until we're dead').
DeleteI would like to get to US Army and Australians in New Guinea someday, as well.
V/R,
Jack
Yes, you need to get the the Aussies in New Guinea. BTW, excellent job on the figures. They are amazing. I think I can just repeat myself and say you are a machine when it comes to painting. I have painted two 15mm Sumerian battlecarts in the time (i..e last year and a half) you painted all the forces in this weeks blog posts.
DeleteShaun,
DeleteThanks man, and yes, definitely need to get to New Guinea at some point. While I do enjoy painting, I would love to work myself to the point that I'm actually done painting big projects, someday, and have everything I want to play, but it certainly doesn't feel like I'll ever reach that point ;)
V/R,
Jack