All,
Following the debacle at the NDP last night (early morning, actually), the squad is allowed to rest through late morning, get cleaned up, then went on working party for a few hours. During this time 2nd Battalion passed through 3rd Battalion into the assault on Hill 475, while 1st Battalion (the squad's parent element is on holding the southern flan. The vicious nature of the fighting has got many calling Operation Apple Cobbler "The Battle for Chopped Sirloin Hill."
By mid-afternoon 2nd Battalion's attack is stalled; in preparation for 1st Battalion assuming the assault position, several choppers' worth of replacements were flown out to join the battalion in the field, to include enough to bring the squad up to full strength. This was causing some sever consternation amongst the few survivors of the squad, and Sgt Banaszak had the rare occasion to voice his opinion directly to the Company commander: "Sir, I don't like it, we've got men out on convalescence! They're coming back, and they belong with the squad! There's no way we're keeping these FNGs while our buddies get farmed out to other units."
"Sergeant, perhaps you haven't been paying attention to recent events. It's 1430 hours (I don't know why the Army insists on saying 'hours' after the time...); your squad will be heading up that hill at 1530. The way things are going, you'll have plenty of room on the squad for your returning buddies." Banaszak's expression turned from one of anger to concern, his mouth went dry, and he peered over his shoulder at the looming hill. "Uh, I see Sir, sorry Sir." "No problem Sergeant, now you get back to your squad and get your boys ready." This is what we call foreshadowing...
At 1500 1st Battalion was passing by LZ Bluebird, where so many wounded and dead were being evacuated by helicopter that Banaszak figured no one could be left in 2nd Battalion, and at 1530, as the squad passed through 2nd Battalion's front lines, he saw he was pretty much right... Picking up the action at approximately 1545 on 24 Oct 1967.
Overview of board, north is right, US baseline is south (left), NVA is right. You can see three enemy bunkers at far right, which are (top to bottom) Bunker1, Bunker2, and Bunker3.
Looking north at the NVA, left to right: Bunker1, Bunker2, and Bunker3. At top left is an 82mm mortar position.
Bunker1 on far left, with three NVA riflemen.
B2, in center, with a rifleman, a leader, and an RPG.
B3, at far right, with three NVA riflemen.
The NVA 82mm mortar team, at top left (NW). The mortar team has eight rounds and will leave the table once all are fired.
Everyone is starting unpotted, hence the violet beads.

The US squad, moving north (right) up Hill 475, unknowingly about to run into an NVA bunker line (they've passed two abandoned bunker lines on the way up.). Banaszak can't help but think, 'if only Holmes were here, he would have spotted the enemy already and warned the squad...' The 'new' squad is as follows, from left to right: Pvt Mansfield, a replacement rifleman, Spec4 Shell, a replacement field medic, Pvt Thomas, a replacement grenadier, Cpl Ham, now 2nd Team's leader, Pvt Swan, now a rifleman in Team 2; Sgt Banaszak is between the two teams; Pvt Webster, grenadier, Sgt Bradley, a 'Shake and Bake' 90-day wonder, given his Sergeant's stripes pretty much straight out of basic (an 'interesting' program instituted by the Army, not real popular with guys already 'in-country' that are suddenly outranked by an FNG straight from the World), replacement Team 1 leader, then Pvt Wagner, replacement assistant machine gunner, Pvt Brown, replacement machine gunner, and Pvt Kolb, replacement rifleman walking point.

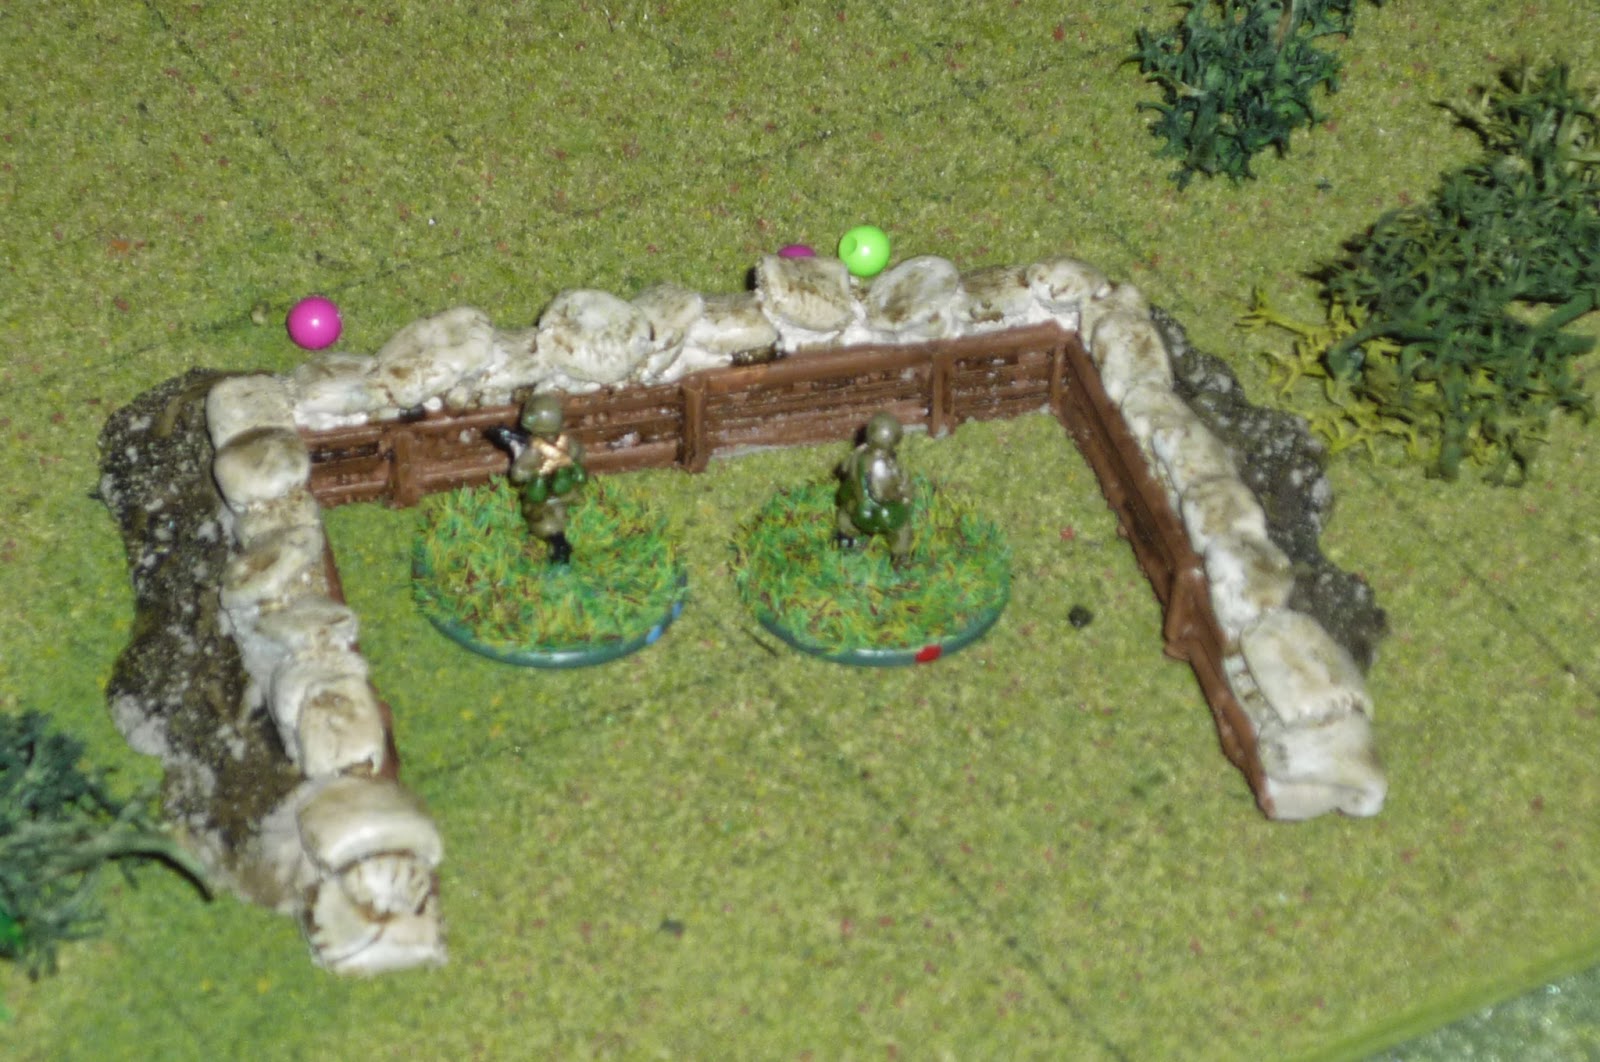
View from behind pointman Kolb, looking up the trail at Bunker3.
View from behind pointman Kolb (bottom center), looking NW at Bunkers 1 and 2.
The action starts at Bunker3 (foreground). One NVA activates and spots Kolb, Brown, and Wagner, opens up, and puts Kolb down (first shooting roll was a damned 20) with a serious wound (followed with a 14). Next NVA opens up, Brown is down, out of the fight. Third guy spots Bradley then shoots Wagner, seriously wounding him. All three guys in Bunker3 fired, I count it as spotted. Unbelievable: three NVA activate, three US troops out of the fight...
Banaszak, on the trail between his two teams when the shooting started, sprints right, moves up, and flops prone (bottom left in the bushes, next to the seriously wounded Kolb, on the trail, with Bunker3 at far right).
Swan (bottom left) moves off trail to left, spots Bunker1 (top left, with Bunker2 at top center, still unspotted).
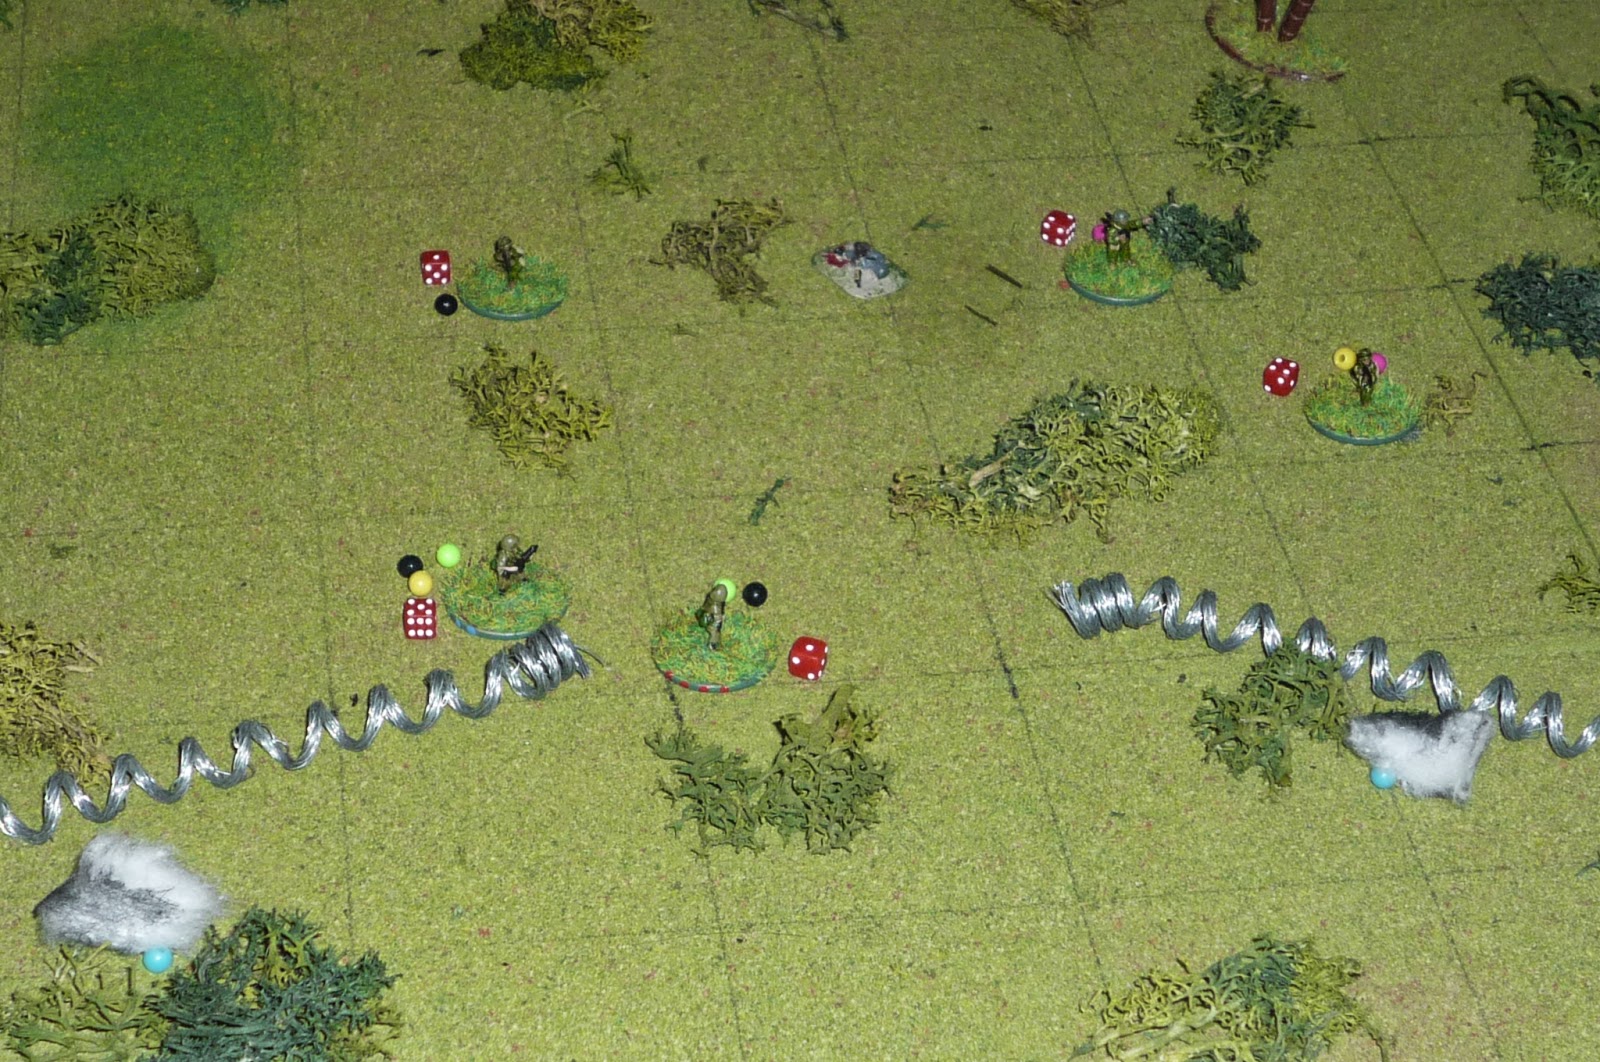
Bunker1 (top center) opens up on the trail, seriously wounding Sgt Bradley (bottom center with green and red bead) and lightly wounds Webster (bottom center with black, green, and yellow bead). Webster tests morale and drops prone, pinned...
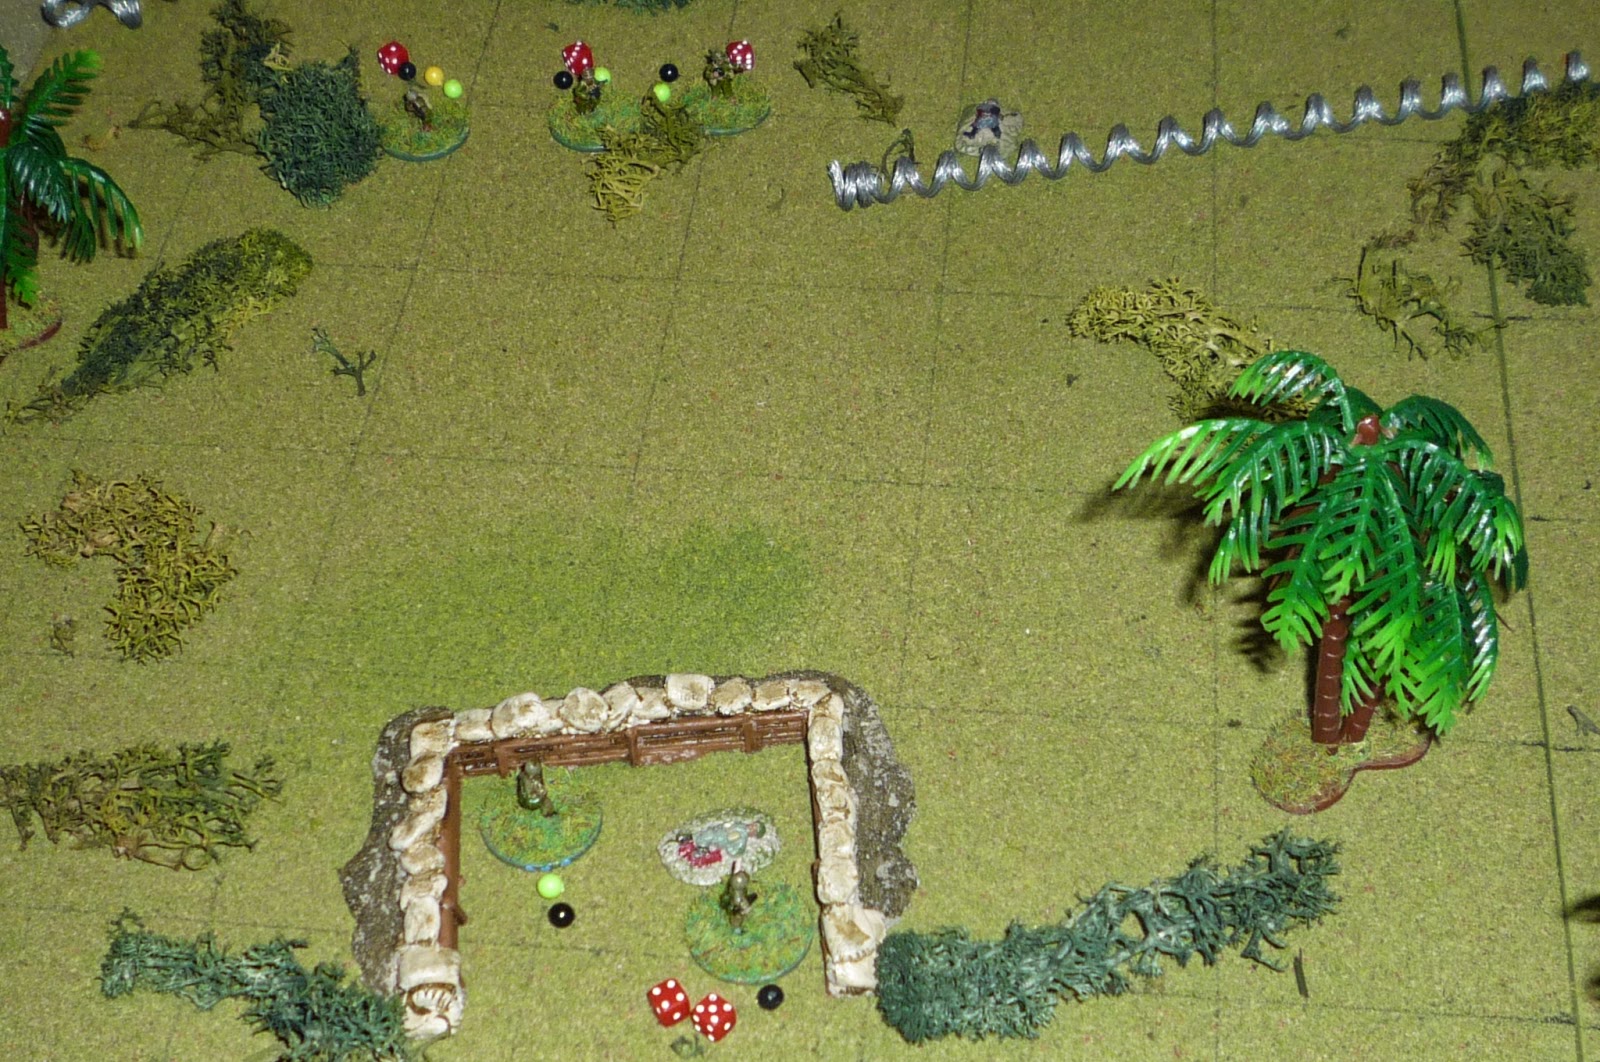
Bunker2 (off camera to top right) takes several tries, but finally spots Swan (bottom right), while Thomas (Tm2's grenadier, bottom center, just left of Swan) sprints left, drops prone, and fires his M-79 at Bunker1 (top center). His round misses horrendously, landing only a few inches away (center left cotton puff); must've hit a tree branch...
Another NVA in Bunker2 (foreground, with Bunker1 to right) takes a few tries, but spots Thomas in the treeline (top center, with Thomas' grenade hit just to its right). The last NVA in Bunker1 spots Thomas as Ham activates. Ham screams to Mansfield and Shell, "you go right and catch up with Sarge, I'm going left," then sprints next to Thomas and Swan and fires on Bunker1, missing. The last NVA in Bunker2 sprays the treeline, missing Swan, Thomas, and Ham (adding stress).
Shell and Mansfield (far left) sprint up the right side, creep forward a bit (to help remain unspotted), then go prone, with Sgt Banaszak at far right and the seriously wounded Kolb at top right.
The three seriously wounded men (left to right, Bradley, Wagner, and Kolb, with Brown 'down') crawl to the rear as the enemy mortar opens up.
All three rounds are targeted on the treeline holding (left to right) Ham, Thomas, and Swan.
The first round is wildly off target, landing 8 inches away, but the next two come right in on target: Ham and Swan receive light wounds, while Thomas is seriously wounded. Aside from that you can see the tremendous amount of stress that racked up. The NVA are having quite a day...
The NVA RPG in Bunker2 (top center, with Bunker1 to its left) opens fire on Webster (dead center with black, green, and yellow bead), missing long (cotton at bottom). Webster returns fire, missing just short (cotton right in front of Bunker2).
Mansfield and Shell (off camera to right, sorry, didn't snap a pic) both open up on Bunker3, get spotted, and receive fire from Bunker3. Mansfield and Shell fire a total of six times, as do the NVA; nobody hit nuthin'... But that's not the important part: the important part is that, while Mansfield and Shell were keeping the three NVA in Bunker3 tied up...
Sgt Banaszak decided something rash needed to be done, so he hopped up, sprinted up to Bunker3, and chucked an M-26 fragmentation grenade through one of the firing ports...
Which killed one, seriously wounded one, and lightly wounded the third NVA rifleman. Because of the jungle between, the NVA in Bunkers 1 and 2 can't see what's happened at Bunker3.
At Bunker2 (top center with cotton puff in front of it), the NVA rifleman resident there can't take the heat and takes off, while his leader drops prone and counts his toes. Unfortunately, so does Ham (center left), while Private Swan performs his own rendition of "Chariots of Fire" while sprinting back down the hill... Every damn time!
A rifle in Bunker1 tests and drops prone, while another fires at Ham, missing three times, and the last fires at Webster (dead center), missing three times. The misses are great, but the stress means continued morale tests and likely continuing to stay pinned...
The four seriously wounded crawl towards the rear while the NVA mortar opens up again...
The first round hits pretty close to Ham (far right, with blue bead marking the intended impact point) and the already seriously wounded Thomas (bottom right, you can just see the green and red beads under the tree).
While the second mortar round targets Webster, missing by a little. Again, no one hit, but stress added.
And the third targets Mansfield and Shell, hitting (top right) near Mansfield (center) lightly wounding him.
It's a new turn, and I wanted to big things with Banaszak so I had to take a big chance. I should have acted with Banaszak first, killed the lightly wounded NVA in Bunker3, then crept towards Bunker2, which would have meant he wouldn't have been able to take any action on Bunker2 this turn. The NVA in Bunker3 had a whole bunch of stress on him, so there was a real good chance he would bolt, especially with Big Bad Banaszak standing over him. So, I decided to let the NVA test in the hopes he would run, then I could have Banaszak move on Bunker2.
It paid off! I rolled morale and the NVA decided to split. In my narrative, I'd say he saw Banaszak, was scared out of his mind, got up to run, and Banaszak shot his ass, as well as the seriously wounded NVA in Bunker3 (that's why I put three casualty figures in there).
The RPG gunner in Bunker2 (off camera at top right) tests and decides to run, while Webster (dead center) tests and once again is pinned down... NVA rifle in Bunker1 (off camera at top center right) pops up and fires at Ham, missing, but he tests and is pinned. Mansfield (far right, you can just see the yellow bead) tests and is pinned, while Shell yelled something about "I didn't sign up for this" and ran back down the hill...
The other two NVA in Bunker1 open up on Ham, not hitting him but doing their best to make sure he stays pinned next turn too, while the four seriously wounded crawl back.
Meanwhile, Banaszak continues his terror! He sprints ahead and into the back door of Bunker2 (bottom right, with Bunker1 at top left and mortar position off camera at top right). The NVA leader is in there, lying on his belly, facing the firing ports, so Banaszak has no problem sticking him with his knife (serious wound).
Meanwhile, the NVA mortar team fires their last two rounds, pack up, and move up the hill in search of more ammo. The first round was aimed at Webster (top center w/blue bead), but misses to right.
The second round lands practically on top of Mansfield, already lightly wounded by the last set of mortar rounds. This time he is seriously wounded...
Webster activates and fires a grenade at Bunker1 (top center), missing left (my grenadiers haven't hit a damned thing today! Only got close once). Return fire from Bunker1 seriously wounds him... Ham tests (off camera at left center) and remains pinned, but the other two NVA in Bunker1 open up on him and seriously wound him, too!
For those not paying attention, Banaszak is the only guy left not seriously wounded...
But Banaszak plays superhero again: he sprints from Bunker2 up to Bunker1, and drops a grenade in, which again kills one, seriously wounds one, and lightly wounds the last, who has a whopping twelve stress on him, which (once he tests) causes him to surrender.
Wow, it's over. Fatigue sets in, and all he wants to do is lie down there and go to sleep, but Banaszak knows there's so much work to be done. What to do? I need to get the guys up here to consolidate our position, but where is everyone? Inconceivable! They're all down! Banaszak gets on the Prick-25 (yes, Panda-John, I know you're going to love that, but that's what we called the PRC series radios) with the LT: we've forced a way through the third bunker line, but need troops up here to consolidate before the NVA realizes and pushes us out, and need immediate MEDEVAC.
The LT brings the rest of the platoon up, looks around. "Good God, Sergeant, you did all this?"
The NVA losses were as follows:
-3 captured (two seriously wounded, one lightly wounded)
-4 KIA
Meanwhile, the whole squad is shot up:
Sergeant Bradley took a round through the calf, on Light Duty until 28 Oct 1967.
Pvt Brown had a round bounce off his ribcage, on Light Duty until 28 Oct 1967.
Wagner took several rounds in the chest, bad enough to be evacuated back to the World.
Private Webster succumbed to his wounds, KIA 24 Oct 1967.
Pvt Kolb took rounds in both thighs, was evacuate to China Beach, returns 7 Nov 1967.
Cpl Ham took shrapnel in his right arm, evacuated to Dak To, return 28 Nov 1967.
Pvt Thomas took a round in the foot, evacuated to BAS (moved here to Hill 475), return 31 Oct 1967.
Pvt Mansfield was pretty much peppered by shrapnel from head to toe, but the docs patched him up in the field and he's good to go, back in action.
Swan and Shell both ran, and if I recall correctly, this is actually Swan's third time to run in eight fights...
"You two s@#$bags look at me, hear me, and understand what I'm saying to you. I'm begging you, begging you with tears in my @#$ing eyes, run again while we're in a fight! Do it again and I swear to God I'll shoot you myself! You're lucky the Captain doesn't court martial both you @#$%holes, spend the rest of your pathetic lives in Long Binh Jail! How do you do that @#$%, Swan? How do you run out on your buddies while they're laying there, bleeding out on some jungle trail in Vietnam? Get out of my sight."
Of course, the whole brigade is talking about Banaszak: whole squad is down, and what's he do? He @#$%ing charges, man, he charges! He drops a grenade in the bunker, whammo, they're zapped! Moves to the next one, hops in the damn thing and sticks an NVA officer! Then he hauls it to the third bunker, another grenade, whammo, they're zapped too! That dude's dinky dau, man!
Sgt Banaszak has been recommended for the Medal of Honor for his actions on Hill 475 on 24 Oct 1967, which went beyond the call of duty. Banaszak is now S&D5 as well.
That game was intense, and it certainly worked out like real life. That is, you don't need a big-time hero until you've got a big-time problem.
In any case, 1st Platoon came up and consolidated 1st Squad's breach in the third bunker line, while the rest of Alpha Company moved right and Bravo moved left to expand it. Once that was finished Bravo and Charlie tied in facing north, while Alpha was pulled out of the line and thrown in the south for rear security overnight.
V/R,
Jack