All,
Ambush at Abbeville, #2
0530 28 May 1940
0530 28 May 1940
Following the fighting in and around Flavion, KG Klink was briefly pulled out of the line to rest, refit, perform maintenance on their weapons, machines, and equipment, and bring in a few replacements. They were actually parked outside the Dunkirk perimeter when they were called back to action; further south, German forces had forced a crossing on the Somme. At 0600 27 on May, the Allies counterattacked the German bridgehead, striking the German 57th Infantry Division southwest of Abbeville, in an attempt to reach the encircled Allied troops at Dunkirk.
Unbeknownst to the Germans, the French French 4e DCr (or 4th Division Cuirassee, 4th Armored Division) arrived in the battle area that evening. The French force, heavily armed with Char B1, Somua S-35, and Hotchkiss light tanks, immediately set about reorganizing, preparing to attack on the morning of 28 May.
But KG Klink moved all through the night in order to reach the battle area. arriving at approximately 0500 on 28 May. The plan was for KG Klink to counterattack down the Blangy-Abbevile Road, hoping to flank the French 2e DLC (2nd Cavalry Division), maybe even cut all the way across and in behind the British 51st Highland Division, cutting off the British 1st Armored Division. With that, KG Klink set off, passing through the German 217th Infantry Regiment, launching its attack down the Blangy-Abbeville Road. KG Klink passed through Villers sur Mareuil, then Huppy, and were moving towards St Maxent en Vimeu, when they encountered trouble near the three (fictional) villages, Dujour, Deture, and Toujour, on the River Bleu.
The first fight saw Colonel Klink lead the 1st Grenadier Platoon, supported by Stugs, in the attack on Dujours. Repulsed, they were reinforced by the 4th Grenadier Platoon and drove the French force back onto Hill 44.
The second fight sees the Schutzen Company Commander, 1st Lt Tausch, lead his 3rd Grenadier Platoon, supported by elements of his Schwere Platoon, in the assault on Hill 34, north of the Blangy-Abbeville Road.

The overall area of operations, and that stupid north-seeking arrow at top right is incorrect, north is to far left... The three villages are, from left to right: Dujour, Deture, and Toujour, and the hills are, from left to right: Hill 34, Hill 44, and Hill 54. The River Bleu runs east-west down the center of the table.
My intent is to play a series of battles on a 6' x 4' layout, using small pieces, maybe 2' x 2' with 10mm troops. I've gone back to my old standby, Ivan's "5Core Company Command."


CO: 1st Lieutenant Tausch (Iron Cross 1st and 2nd Class), Schutzen Company Commander
-3rd Grenadier HQ Element: SSgt Janke (Iron Cross 2nd Class)
1st Squad: Sgt Nader
2nd Squad: Cpl Arndt
3rd Squad: Cpl Coulver
4th Squad: LCpl Hackl
-Elements of the Engineer Platoon
2nd Squad: Sgt Klivens
3rd Squad: Cpl Dilbertt
-Elements of Scwhere Platoon
MG34 team: Cpl Creuzburg
80mm Mortar team: LCpl Vigerte
75mm Infantry Gun team: Sgt Oberlander
3rd Squad: Cpl Dilbertt
-Elements of Scwhere Platoon
MG34 team: Cpl Creuzburg
80mm Mortar team: LCpl Vigerte
75mm Infantry Gun team: Sgt Oberlander

Commanding Officer
2 x MG Team
75mm Field Gun
81mm Mortar team
Four Rifle Squads


Time to fight!


**I don't know what the hell I was thinking, but I didn't allow a single German element to react fire during the French phase, this is all in the German phase of Turn 1!!!


*The fall back was a random event, Panic!


*It's getting mighty hard to keep up the momentum of the attack, how 'bout it, support section?


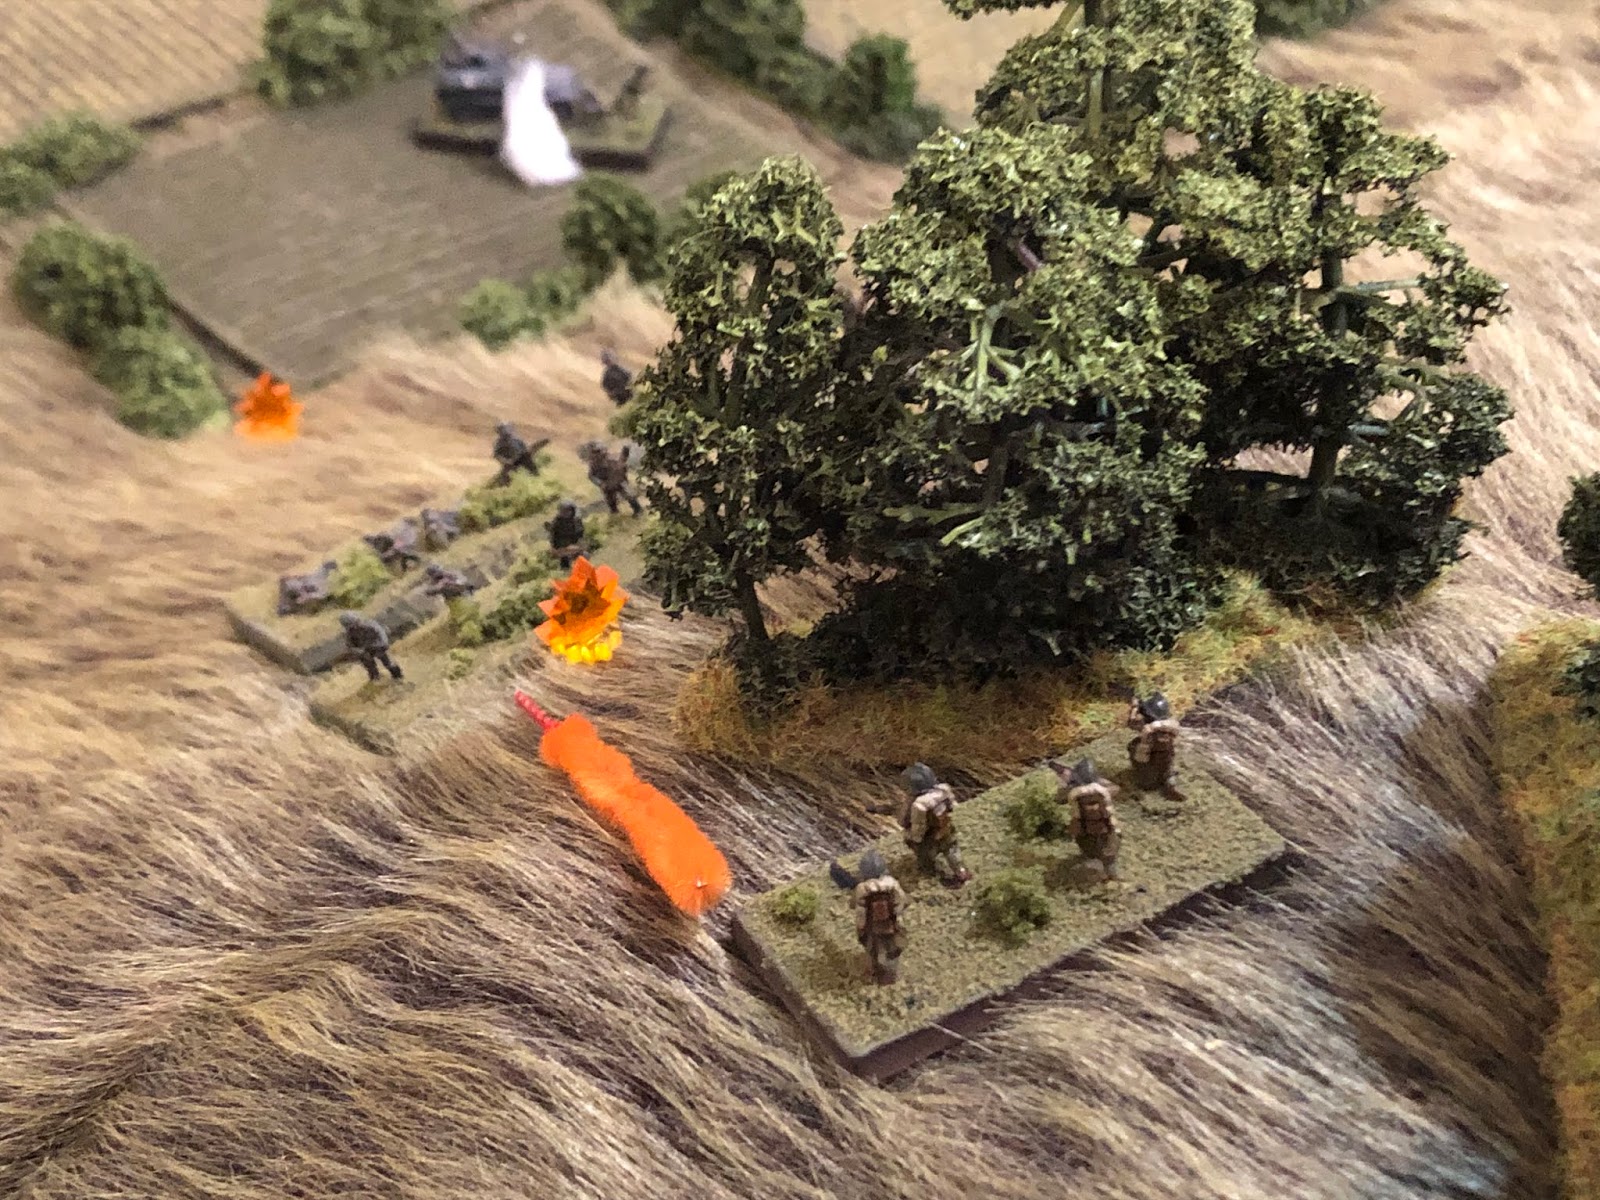

*It's killing me, I've been unable to get the Engineers into the fight at all, was really hoping to get their flamethrowers into action. I probably should have put them on the right, exchanged them with a rifle squad, use them and LCpl Hackl's squad (which is now lying broken in the street) as a base of fire.


*Actually, he just completely missed on 2K 2S, so the Germans have that going for them, but their support section can't react because they can't see MG Team 2...


*The French really wanted to fire their Field Gun at the German support section, but couldn't, they needed to get more infantry up to counter the German advance. In any case, the two sides' supporting weapons have launched a lot of lead with not much result, oddly enough. If you think about it, the only unit that's been knocked out is the German rifle squad caught in the street by a French MG.


Well, that's better! Nothing like coming off a loss to almost have another loss but finish with a resounding win! The Germans accomplished their mission of taking Hill 34 and immediately set about securing the hilltop, evacuating the wounded, reorganizing, and redistributing ammo. "Hell of a job, Arndt!" praised Lt Tausch, "you really carried the day! That damned Coulver, now, hmmm..." The Lieutenant was clearly not pleased with Corporal Coulver and 3rd Squad's performance; Cpl Arndt wasn't sure they ever even got off the line of departure. Lt Tausch was sure to go back and visit with his support section, they'd done a great job of hanging in there under some very heavy fire form the French 75mm Field Gun, 81mm mortar team, and one of their machine guns.
Germans: ~25 KIA/WIA
French: ~30 KIA/WIA, 1 75mm FG destroyed, 45 captured
Of the named characters, only one was hit:
LCpl Hackl, 4th Squad Leader, WIA, out for campaign
And Cpl Arndt was decorated for personal bravery in leading the assault which broke the back of the French defense of Hill 34, receiving the Iron Cross 2nd Class.
LCpl Hackl, 4th Squad Leader, WIA, out for campaign
And Cpl Arndt was decorated for personal bravery in leading the assault which broke the back of the French defense of Hill 34, receiving the Iron Cross 2nd Class.
As they were reorganizing, SSgt Janke motioned to Cpl Arndt and Lt Tausch; "look there, there go them Recce boys!" All three craned their necks atop the sunny hill top to watch the stream of armored cars and motorcycles rush south in a cloud of dust, destined to pull off another of their famed 'Hussar Tricks,' looking to grab the bridge over the River Bleu before the French even realized it was in jeopardy.
Lt Tausch could hear the Colonel on the radio net: "Yes, yes, Wehner, push hard, we'll seize the bridge and fling the panzers and 4th Grenadier Platoon across to seize Toujour, now go!"
Coming up next!
Coming up next!
V/R,
Jack
Love your detailed reports and ongoing campaign info!
ReplyDeleteThanks, Nick! The Fall of France is nearing completion.
DeleteV/R,
Jack
Another great report. I do note that quite a few of the times a near loss is turned into a win is decided by some tense close combats at the end. Which just makes a great narrative!
ReplyDeleteShaun,
DeleteThanks buddy, still waiting for some reciprocity ;)
And you're absolutely correct, was just discussing that on one of the forums; a lot of the fights (and almost every loss) comes down to one final action that could go either way, which does serve up a healthy dose of Hollywood drama, which is how I prefer it.
V/R,
Jack
Have played a 6mm WW2 game, blog post drafted but still need to include the images,likely to be posted on the weekend.
DeleteExcellent man, looking forward to it. I actually just read your blogpost and commented there.
DeleteV/R,
Jack
Glad to hear it, Andy.
ReplyDeleteV/R,
Jack
You are welcome
ReplyDelete