All,
Ambush at Abbeville, #7
1200 28 May 1940
Following the fighting in and around Flavion, KG Klink was briefly pulled out of the line to rest, refit, perform maintenance on their weapons, machines, and equipment, and bring in a few replacements. They were actually parked outside the Dunkirk perimeter when they were called back to action; further south, German forces had forced a crossing on the Somme. At 0600 27 on May, the Allies counterattacked the German bridgehead, striking the German 57th Infantry Division southwest of Abbeville, in an attempt to reach the encircled Allied troops at Dunkirk.
Unbeknownst to the Germans, the French French 4e DCr (or 4th Division Cuirassee, 4th Armored Division) arrived in the battle area that evening. The French force, heavily armed with Char B1, Somua S-35, and Hotchkiss light tanks, immediately set about reorganizing, preparing to attack on the morning of 28 May.
But KG Klink moved all through the night in order to reach the battle area. arriving at approximately 0500 on 28 May. The plan was for KG Klink to counterattack down the Blangy-Abbevile Road, hoping to flank the French 2e DLC (2nd Cavalry Division), maybe even cut all the way across and in behind the British 51st Highland Division, cutting off the British 1st Armored Division. With that, KG Klink set off, passing through the German 217th Infantry Regiment, launching its attack down the Blangy-Abbeville Road. KG Klink passed through Villers sur Mareuil, then Huppy, and were moving towards St Maxent en Vimeu, when they encountered trouble near the three (fictional) villages, Dujour, Deture, and Toujour, on the River Bleu.
The first fight saw Colonel Klink lead the 1st Grenadier Platoon, supported by Stugs, in the attack on Dujours. Repulsed, they were reinforced by the 4th Grenadier Platoon and drove the French force back onto Hill 44.
The second fight saw 1st Lt Tausch, lead his 3rd Grenadier Platoon into the assault on Hill 34. The attack stalled in several locations, but the Lieutenant's skillful leadership maneuvered his troops until they were able to unhinge the enemy's defensive line.
The third fight saw the Reconnaissance Company Commander, 1Lt Wehner, seize the bridge at Deture after some very heavy street fighting.
The fourth fight saw Colonel Klink go down in a blaze of glory atop Hill 44, the remainder of his Stugs and 1st Grenadier Platoon chewed to pieces, though still able to force the French off the hilltop.
The fifth fight saw Major Schultz, the Kampfgruppe Executive Officer, lead the assault into the French village of Toujour. The attached panzer platoon was roughly handled, and the infantry didn't fair much better, with Major Schultz wounded while leading a close assault to secure the village. However, no sooner was the village taken then strong enemy forces appeared, forcing not only the 4th Grenadier Platoon to fall back from Toujour, but also the Reconnaissance Company to abandon the bridge at Deture.
The sixth fight saw Captain Bohm led the better part of his Panzer Company to counter the enemy's armored thrust, and it was chewed up handily. However they did fight the French armored thrust to a temporary standstill, enough for the remainder of the of the company and the Panzerjaeger Platoon to be brought up.
The seventh fight sees Colonel Klink, the Kampfgruppe Commander, lead the 2nd Panzer Platoon and the Panzerjaeger into the fight to halt the French armored thrust.

The overall area of operations, and that stupid north-seeking arrow at top right is incorrect, north is to far left... The three villages are, from left to right: Dujour, Deture, and Toujour, and the hills are, from left to right: Hill 34, Hill 44, and Hill 54. The River Bleu runs east-west down the center of the table.
My intent is to play a series of battles on a 6' x 4' layout, using small pieces, maybe 2' x 2' with 10mm troops. I've gone back to my old standby, Ivan's "5Core Company Command."
The seventh fight sees a second clash of armor, as the Germans seize the initiative and charge the French heavy tanks, which have just finished refueling and rearming just south of Toujour. The German Panzerjaeger Platoon and 2nd Panzer Platoon (Pz IIIs) are on the attack.


The German force:
CO: Colonel Klink (Iron Cross 2nd Class), Kampfgruppe Commander
-2nd Panzer Platoon Leader: 1st Lt Loeb (Iron Cross 1st and 2nd Class)
V2: SSgt Grossman
V3: Sgt Mayer
V4: Sgt Harms
-PanzerJaerger Platoon Leader: Sgt Dittrich
V2: SSgt Grossman
V3: Sgt Mayer
V4: Sgt Harms
-PanzerJaerger Platoon Leader: Sgt Dittrich
V2: Sgt Taube
V3: Cpl Hamburg
*And there's actually one more Panzer III in the fight, Cpl Otjen's, the sole survivor from the last fight.
V3: Cpl Hamburg
*And there's actually one more Panzer III in the fight, Cpl Otjen's, the sole survivor from the last fight.

The French force:
Commanding Officer
2 x Char B1 Heavy Tanks (absolute monsters!)

Look at all those burning tanks...


"I was, but I couldn't simply lie there on my soft, comfortable bed at the Field Hospital my Kampfgruppe was being chewed to bits by the French, now could I?" 'Twas true: though badly injured, when Colonel Klink heard of the French armored thrust, he immediately donned a fresh uniform, gathered up his remaining armored vehicles, and marched to the sound of the guns, despite being a bit weak and unsteady on his feet. "Forward!"


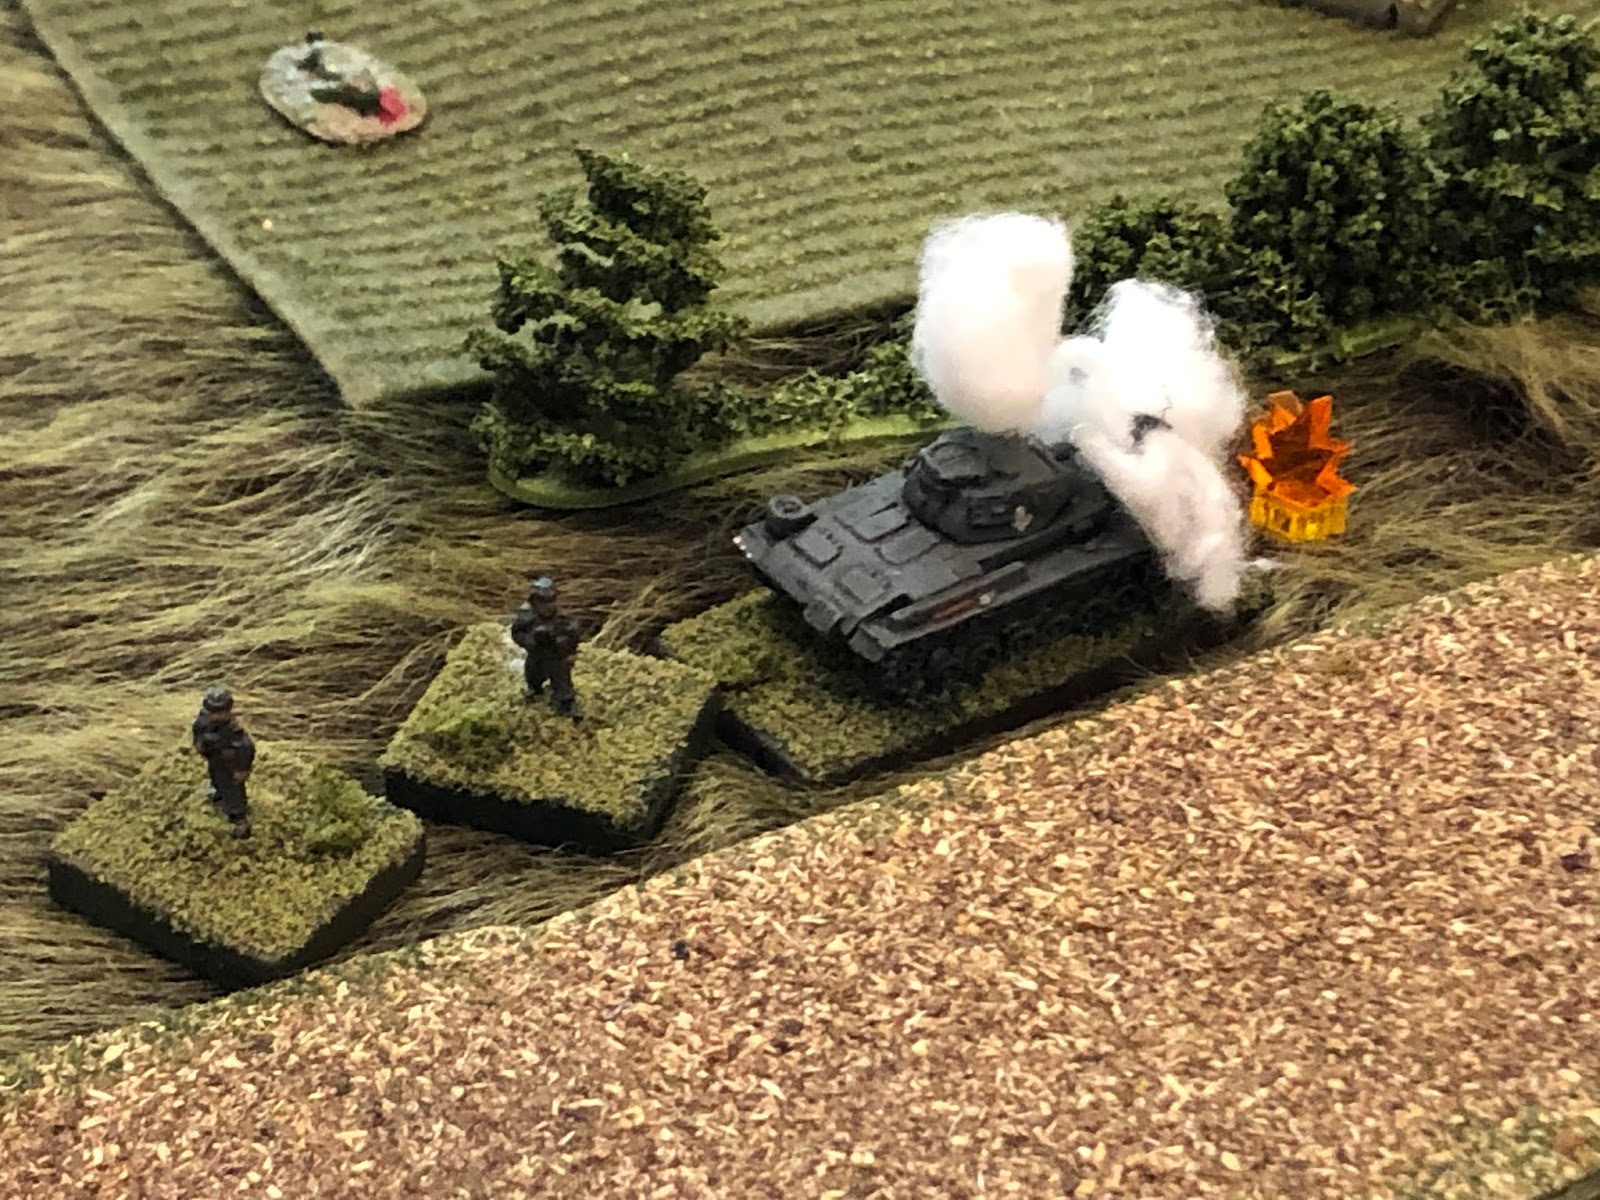
The Colonel peers south, across the bridge, as the first smoke rounds begin to land. "No, no, damn you! You were supposed to smoke the enemy positions, not the bridge!"

"The SNAFU with the smokescreen could have been a lot worse," thought Lt Loeb to himself, "at least it got us over the bridge!"


*What the hell is going on with these casualty rolls? Three dead tank commanders???


*At least he didn't die, I guess...


One last look at the battlefield, which held a total of seven fights.
Well, quite a fight, though not as tough as I figured it would be, but that's probably down to the fact I may have over-powered the German 47mm high-velocity anti-tank guns. In retrospect, I'd guess that the guns on the PzJgrs must not have been that effective, or the Germans wouldn't have had to resort to the bringing up the 88s to deal with Char B1s and Matildas. Having said that, I don't think there were many PzJgr Is available in the campaign in France, so maybe they were effective, just not widely available. I dunno, I'll leave that to folks that are smarter than me about that sort of thing.
In any case, the Germans, bolstered by the return of their wounded Commander, were able to carry the day, halting the French attack up the Blangy-Abbeville Road, though the price was steep. The French threat (in this sector) now null, KG Klink was able to pull out of the line for some rest, recuperation, and reconstitution. Though really, the reconstitution would have to wait, there were no reinforcements, either in man nor machine, available. Thus, KG Klink was relegated to rear area duty for the remainder of the campaign in France, the former battalion-sized unit now barely more than an understrength company.
Regarding that unpleasantness at the end, I apologize if anyone thought it was in bad taste, my goal was not to be off-putting. My goal was actually to remind folks that the Germans were the bad guys, and to remind folks that I know that, that while I have a certain affinity for soldiers carrying out their duties honorably, there's no mistaking who the good guys and bad guys were in WWII. So don't worry, atrocities are not going to become a regular part of my wargaming batreps (and civilians will never be a part of it, regardless of what happened in real life), though I will do this every now and again, for the same reason listed above.
Germans: ~20 KIA/WIA, three Panzer IIIs and one PanzerJaeger I destroyed
French: ~15 KIA/WIA, two Char B1s destroyed
Of the named characters, three were hit:
Sgt Harms, 4th Vehicle Commander, 2nd Panzer Platoon, WIA, out for 120 days
Sgt Taube, 2nd Vehicle Commander, PzJgr Platoon, KIA
Cpl Otjens, 2nd Vehicle Commander, 3rd Panzer Platoon, KIA
SSgt Grossman, 2nd Vehicle Commander, 2nd Panzer Platoon, KIA
Sgt Harms, 4th Vehicle Commander, 2nd Panzer Platoon, WIA, out for 120 days
Sgt Taube, 2nd Vehicle Commander, PzJgr Platoon, KIA
Cpl Otjens, 2nd Vehicle Commander, 3rd Panzer Platoon, KIA
SSgt Grossman, 2nd Vehicle Commander, 2nd Panzer Platoon, KIA
Sgt Dittrich was decorated for knocking out one Char B1 and pummeling the other until it was immobilized and partially disarmed, its crew fleeing, for which, at this early stage of the war, he was given credit for a second kill.
The seven-fight operation totals:
Germans: 210 casualties, 3 Stug IIIs, 1 Sdkfz 222, 2 Panzer Is, 4 Panzer IIs, six Panzer IIIs, six Panzer IVs, and one PanzerJaeger I destroyed
French: 215 casualties, 80 POWs, 4 ATGs, 2 FGs, 3 H39s, 2 Somuas, and 3 Char B1s destroyed
Germans: 210 casualties, 3 Stug IIIs, 1 Sdkfz 222, 2 Panzer Is, 4 Panzer IIs, six Panzer IIIs, six Panzer IVs, and one PanzerJaeger I destroyed
French: 215 casualties, 80 POWs, 4 ATGs, 2 FGs, 3 H39s, 2 Somuas, and 3 Char B1s destroyed
Thus ends Kampfgruppe Klink's tour of France, circa 1940. As always, I'll do a campaign epilogue. Then the unit will undergo some changes, with promotions, departures, and reorganization, then it's off for a brief stint in Greece in April 1941.
V/R,
Jack
Wow! A tough end to the mini-campaign. Lots lost and the games all seems to be closer than normal. i know previous games have sometime come down to the last assault but there were more like that here. It also seemed that the play 7 games on one table worked very well. If I ever get a larger table setup, it is worth thinking about.
ReplyDeleteShaun,
DeleteSee, this fight didn't seem that tough to me, actually was a bit anti-climactic, a bit of a letdown, felt a bit too easy (due to those PzJgr Is on the hill). Certainly casualties for the mini-campaign (and the campaign in France as a whole) were horrific, but in my mind KG Klink was involved in the bitter fighting around Flavion that opened the door for some serious German thrusts into France, and then was involved in the desperate fighting around Abbeville that shut the door on the Allies' ability to put up meaningful resistance, and now German panzers (from other units) were about to roam free, pushing south, then east.
You think the fights were closer than normal? I dunno, it seems with 5Core that most of the fights are pretty close, that even the 'walkovers' where one side takes very few casualties and the other takes pretty heavy casualties actually were very close and built up to a breaking point that could have gone either way (like the assault on Hill 34).
Yeah, I'm a big fan now of using the 6' x 4' table to set a general area of battle, then play out a series of fights on portions of it, seems to work pretty well. Until it's time for clean up ;)
If you ever get a larger setup??? This from the man that had a ping-pong table??? And no true wargamer builds/buys a new house without identifying/creating a dedicated wargames room ;)
V/R,
Jack
I dunno, it just seemed that of these 7 fights they were all really close and you were *this* close to sending in those reinforcments or the plane attack.
DeleteI renovated the house but the gaming room is in stage 2. We have no money for the next few years for stage 2. My 10 year old son and I tried to convince my wife that the current back room (that is quite large) could fit the table tennis table in and wouldn't that be great!? We were not convincing :-)
Shaun,
DeleteYeah, I agree that these were all super close fights, but almost all of them feel that way to me. Mostly I don't bring in the reinforcements until it's clear I've already lost, which is another reason why so many fights are so close: I'm getting my ass kicked, and rather than fall back, I've got one squad left and they're going to charge, glory or death. If they die, on come the reinforcements to save the campaign narrative, if they win, they're heroes and we keep chugging along. I will say that I'm pretty lucky when it comes to that last ditch, all-or nothing attempts, in the overall scheme of things.
I understand all about being 'house poor,' hope the two years flies by for you and your family. And you and your son need to work on your convincing skills! ;)
V/R,
Jack
Glad to hear it, Andy, thanks!
ReplyDeleteV/R,
Jack