All,
Afternoon, 10 April 1941
Here we are, the inaugural battle of Kampfgruppe Klink's campaign in Greece. A little background, first: the German invasion of Greece was known as "Operation Marita," and commenced on 6 April 1941, finishing up on 30 April 1941. Following the Fall of France, KG Klink got to lounge around a bit in the French countryside. Then, as the seaborne invasion of the United Kingdom (the proposed "Operation Sealion") was contemplated, they got to do some amphibious training and lounge about the French coastline. As that died down they were given a brief home leave, then set about conducting an intense training program to prepare them for 'something big out east.' As this was occurring, the Italians decided to up and invade Greece in 1940, and they were roughly handled, suffering greatly during the winter and into the new year, at which point the German High Command decided (was told) they needed to formulate plans to go pull Il Duce's chestnuts out of the fire, hastened by the UK's decision to reinforce Greece with Commonwealth infantry and armor in March 1941.
KG Klink was moved east, first to Romania, then on to Bulgaria, where they sat out the fighting in Yugoslavia. They also sat out the initial invasion, the breech of the Greek defenses on the Metaxas Line, and then of the Commonwealth defenses at the Aliakmon Line, before being committed. They fairly cruised along until reaching the area in and around Veroia, at which time they ran into strong, though hastily organized, Commonwealth infantry and armored elements which had re-formed there. KG Klink's involvement in the Fall of Greece revolves entirely around the operations to break the Commonwealth defenses in and around Veroia, with the objective being the investment of Servia and its key mountain pass.
The first battle sees Captain Freitag's 1st Schutzen Battlegroup advancing on a key mountain crossroads manned by members of the British Royal Engineers supported by Armored Cavalry from New Zealand.
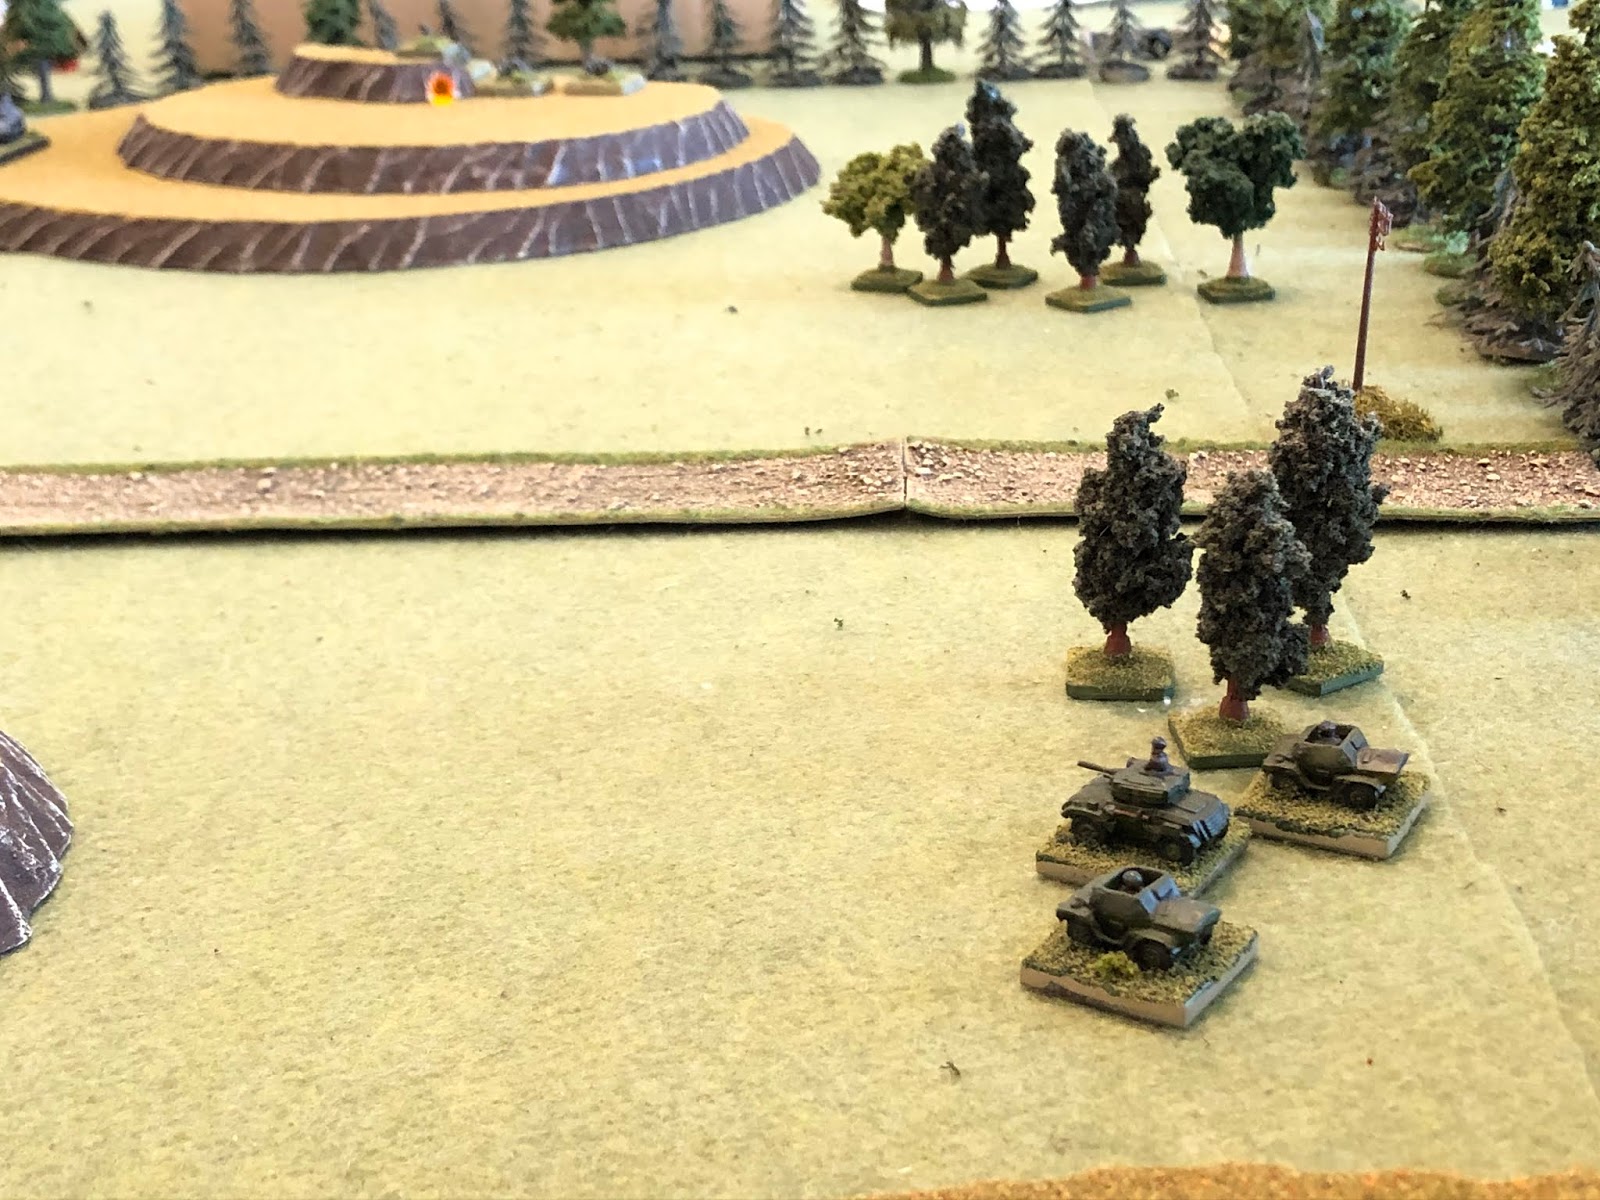
Overview, north is left. The Germans will be entering from the north and attacking south, where the Commonwealth forces will be defending, able to emplace anywhere from their baseline up to the east-west running road. The road is improved (at least in terms of 1941 Greece), there is a small hamlet consisting of three stone buildings at center, a few patches of trees scattered about, but the dominant terrain feature is the hilltops dotting the countryside (clockwise from left): Hill 189 (left), Hill 234 (top left), Hill 320 (top right), and Hill 415 (bottom right).
I'm playing with very simple terrain so that I can lay it down and scrape it up as quickly as possible, to get in a lot of games as quickly as possible.
I'm playing solo using Too Fat Lardies' Chain of Command, modified a bit. I've bumped it up a level (using multi-based stands, not individual troops), I simplified fire and melee combat, and morale (5Core concepts, as always), as well as movement (I like dicing for movement, but it significantly slows things down for me). I changed the CoC Dice so that it represents indirect supporting fires from Higher HQ, and I did away with the Patrol Phase. I love the Patrol Phase, but it doesn't work for me playing solo, so what I do is designate an attacker and a defender; both sides start completely off table, using their Command Dice to deploy on table (as normal), but where it differs is that I basically give the defender a deployment area of half the table, and he can deploy anywhere in that area, even dug in, so long as it's at least 6" from any attacker.
If you're now wondering, then, why do I still call these rules "Chain of Command," it's because the entire game revolves around the use of Chain of Command's brilliant activation system (command roll/Command Dice), the use of leaders' command initiative, and the 'Force Morale' concept of declining Command Dice and morale to breaking. To me, that's the heart of the system, and it makes for a fun game.
The opposing forces, with Germans on the left and Commonwealth on the right.
I'm playing these games in 10mm using figures from Pendraken and Minifigs UK, roads from Fat Frank, hills from Warzone, buildings from Crescent Root, rivers from Wargamers Terrain, and trees from Gunner at Signifer.
Battlegroup Freitag (AKA, 1st Schutzen): consists of the CO stand (far left), two rifle platoons (a Platoon Commander and four rifle squads, each), a weapons platoon (Platoon Commander, two MG-34s, and two 80mm mortars), and a platoon of three Stug-IIIs.
Captain Freitag (Iron Cross 2nd Class)
1st Grenadier Platoon - 1st Lt Tausch (IC1 and 2)
1st Rifle Squad - SSgt Janke (IC2)
2nd Rifle Squad - SSgt Aust
3rd Rifle Squad - Sgt Lutz
4th Rifle Squad - Cpl Lipniki
2nd Grenadier Platoon - 1st Lt Klugmann (IC1 and 2)
1st Rifle Squad - SSgt Mader (IC2)
2nd Rifle Squad - SSgt Sachs
3rd Rifle Squad - Sgt Lehmkuhl
4th Rifle Squad - Cpl Orel
Weapons Platoon - Sgt Creuzburg
MG1 - Cpl Steinkamp
MG2 - LCpl Moen
Mtr1 - LCpl Hager
Mtr2 - LCpl Schiff
Assault Gun Platoon - Officer Cadet Hinkle
V2 - Sgt Kulle
V3 - Sgt Wagner
The Commonwealth force: Royal Engineers and New Zealand Cavalry
Commanding Officer: Major Butler, R.E.
Armored Car Platoon from the New Zealand Cavalry (two w/Bren, one with 2-pdr gun)
British Royal Engineer Platoon (Platoon Commander and three Engineer Squads)
Weapons Platoon (Platoon Commander, two Vickers MGs, and two 3" mortars)
The game is afoot! As the Germans are the attackers, they go first, so the defenders get to see what's happening decide how/where to deploy. Captain Freitag comes on between Hills 234 (top left) and 189 (left), with Wpns Plt on the former and 1st Grenadier Plt in the lee of the latter. 2nd Gren Plt comes on in the west (bottom left).
*The Germans could have brought on the Stug Plt, but wait to see how things develop. The Brits roll, but decide to let things develop, too, so Germans go again.
The German Wpns Plt gets set up atop Hill 234.
1st Gren Plt stands fast (far left) behind Hill 189 as 2nd Gren Plt rushes for the treeline.
1st Gren Plt moves up on Hill 189 in support of 2nd Gren Plt.
*Stugs still stay off, Brits roll again, really crappy rolls, so still sit tight.
1st Gren Plt (center) covers as 2nd Gren Plt moves up (far right).
Officer Cadet Hinkle brings his Stug Plt on behind 2nd Gren Plt.
*Germans rolled a double phase, so time to go!
2nd Gren Plt winds its way south, around a knoll (far right).
The Stugs follow.
As one of the mortar teams (bottom center) fires a ranging shot on Hill 415 (top left).
Lt Klugmann (bottom center), commander of 2nd Gren Plt, is not particularly happy as the 80mm round lands well short...
Nevertheless, he pushes his men forward.
*And still the Brits wait! The Germans now have a CoC dice available.
In the center, SSgt Janke leads his 1st Squad, 1st Gren Plt up towards the hamlet.
The mortars (bottom left) fire another ranging shot on Hill 415 (top right).
Still short, but better than last time.
As Lt Klugmann and his men reach the base of Hill 415!
And 1st Squad, 1st Gren Plt reaches the trees (center), just short of the hamlet (can see 2nd Gren Plt at top right).
*Germans kinda got screwed by rolling four 4s!
The British (sorry, I just can't keep saying 'Commonwealth') finally show themselves: Major Butler brings on his Weapons Platoon, Vickers dug in to the north (left), mortars behind the crest (right).
The machine guns immediately go to work, and it's devastating.
Lt Klugmann is suppressed, 1st Squad is knocked out, and 2nd and 3rd Squads are pinned down!
SSgt Mader is hit in the thigh and must be evacuated, done for the campaign.
Next, the Royal Engineer Platoon comes on in the hamlet.
And immediately opens fire on 1st Squad, 1st Gren Plt...
1st Squad is gunned down in their tracks (bottom center) as the rest of the Engineer Plt (bottom right) opens fire on the German Wpns Plt (top left), to no effect.
SSgt Janke is killed in the initial burst.
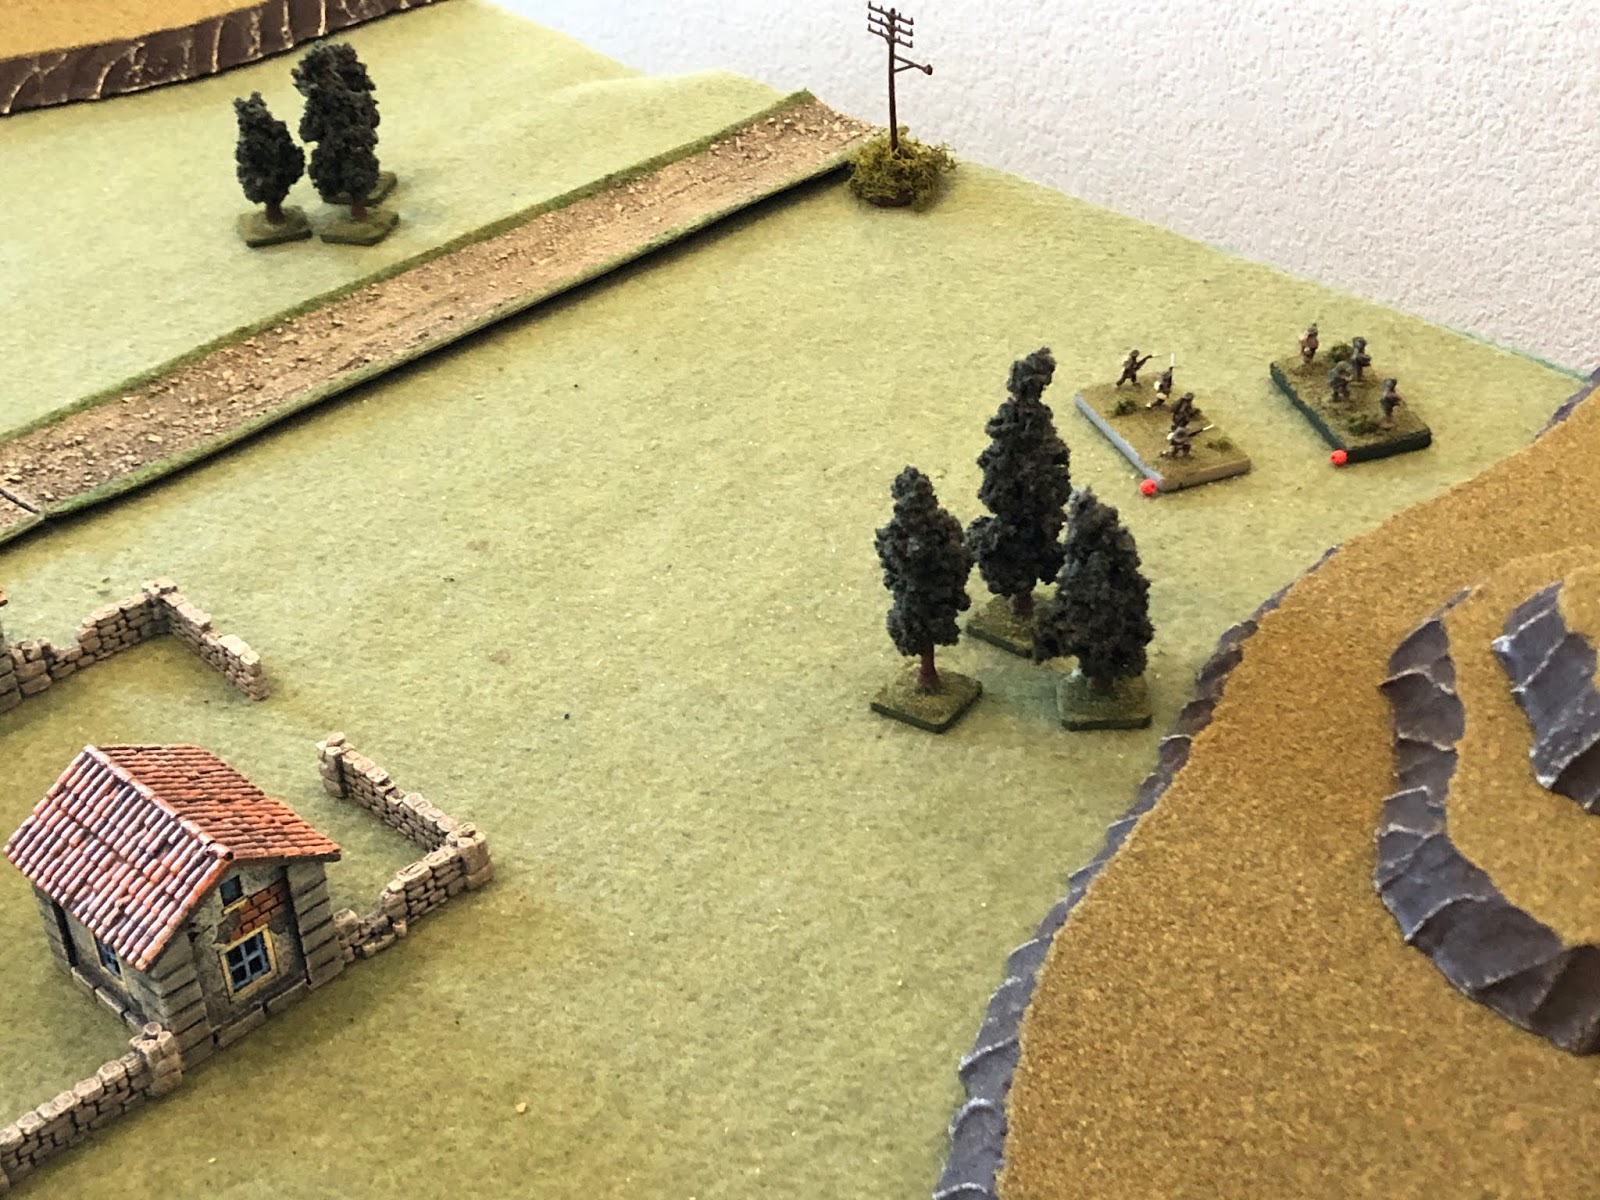
The New Zealand Cavalry's armored cars come on in the southeast.
And they (bottom center) immediately open fire on the Stug Platoon (top left), pinning the Platoon Commander and Sgt Kulle's vehicles.
Captain Freitag (center bottom) calls for supporting fires on Hill 415 (top right) as his MGs (bottom left) fire on the ville, but the Royal Engineers are dug-in hard amongst the stone buildings and shrug it off.
And the mortars attempt to smoke the NZ armored cars (top left), but their accuracy leaves much to be desired...
Captain Freitag moves right (far right bottom, from left), looking to help out the Stugs and 2nd Gren Plt.
As Lt Klugmann sets about rallying his men back into the fight. His command element and both pinned squads are good...
As Cpl Orel moves his 4th Squad up and engages the British MG position, suppressing one of the guns!
1st Gren Plt lays down fire on the hamlet, but again the British Engineers are not affected.
Sgt Wagner maneuvers his vehicle forward (left-most of the three Stugs) and opens fire, as the other two Stugs rally.
Sgt Wagner's low velocity 75mm round falls short.
So he fires again, and he misses again...
Lt Klugmann and his men, still under fire, continue to rally...
And then push forward, engaging the British MG position, completely unaware their Commanding Officer has called in supporting fires on the hilltop. Their fire suppressed the British Wpns Plt commander and pins the second MG.
*Capt Freitag is really second-guessing himself now, wishing he'd have called the supporting fires in on the NZ Cavalry, worried it's going to hit his 2nd Gren Plt.
Sgt Creuzburg's Wpns Plt (bottom left) cuts loose with their mortars and machine guns on the hamlet...
The Engineers' PC and two rifle squads are suppressed, the last is pinned.
As Lt Tausch leads the remainder of 1st Gren Plt up towards the hamlet, looking to maximize pressure on the defense. It might look a bit crazy, but they're trying to get inside their OODA loop, make them react to the German plan rather than carry out their own.
Up on Hill 415, the Major Butler rallies his MG position, clearing the PC and one of the guns, while the other rallies 'up' to pinned.
And they immediately recommence firing on Lt Klugmann's 2nd Gren Plt, pinning 2nd Squad.
As the British mortars (bottom right) engage 1st Gren Plt, moving off Hill 189 (top left) towards the hamlet (top center)...
3rd and 4th Squads are suppressed by the mortar fire.
While in the village, the R.E. Lieutenant attempts to rally his men. He and the pinned squad (yellow bead) are okay...
But both suppressed squads break and run under the combined mortar and machine gun fire (far right, from far left)!
The NZ Cavalry (bottom center right) continue firing on the Stugs (top center)...
To no effect.
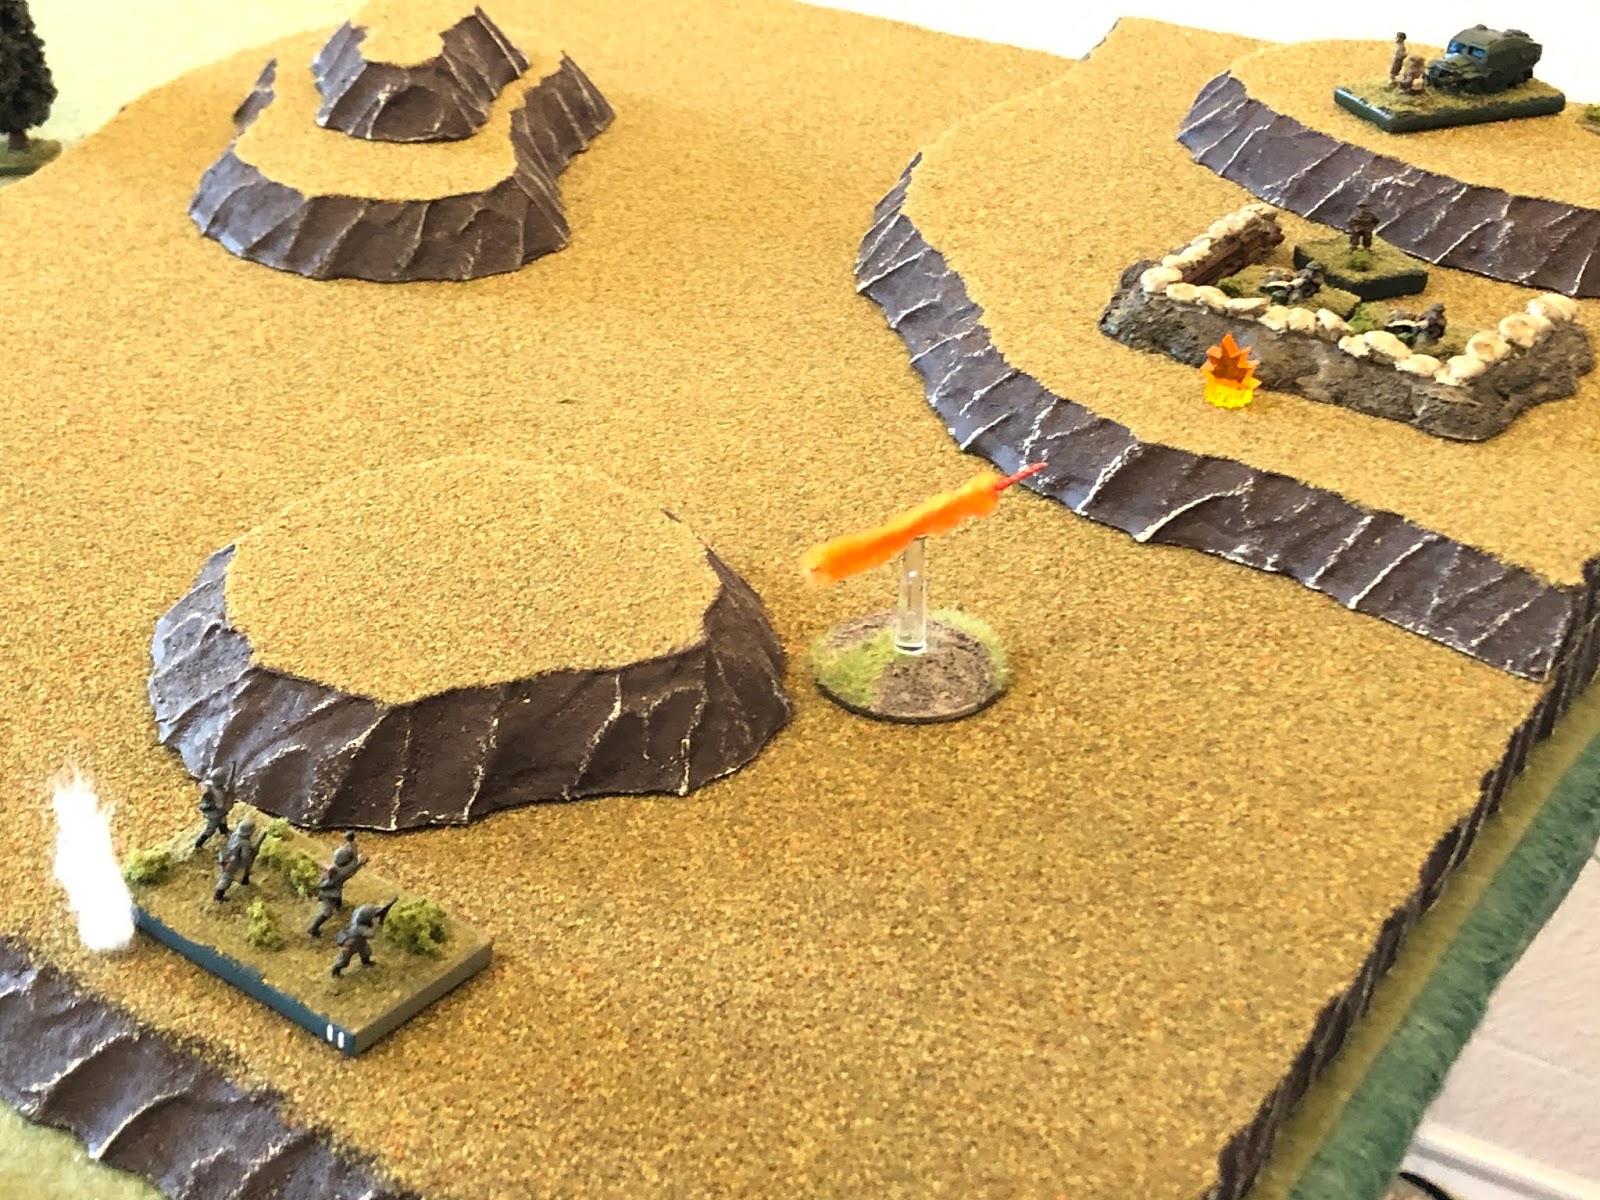
When suddenly the sound of motors is heard...
And the shrieking wail of the siren as the Ju-87s tip over into their dive!
The bombs suppress the entire British MG position, but they also suppress the German 4th Squad, 2nd Gren Plt (bottom left).
Coulda been better, coulda been worse...
Capt Freitag moves out and rallies 1st Gren Plt, caught out in the open by the British mortars.
And the infantrymen again surge forward, towards the hamlet.
Right up to the edge of the urban area.
*The Germans had back to back phases.
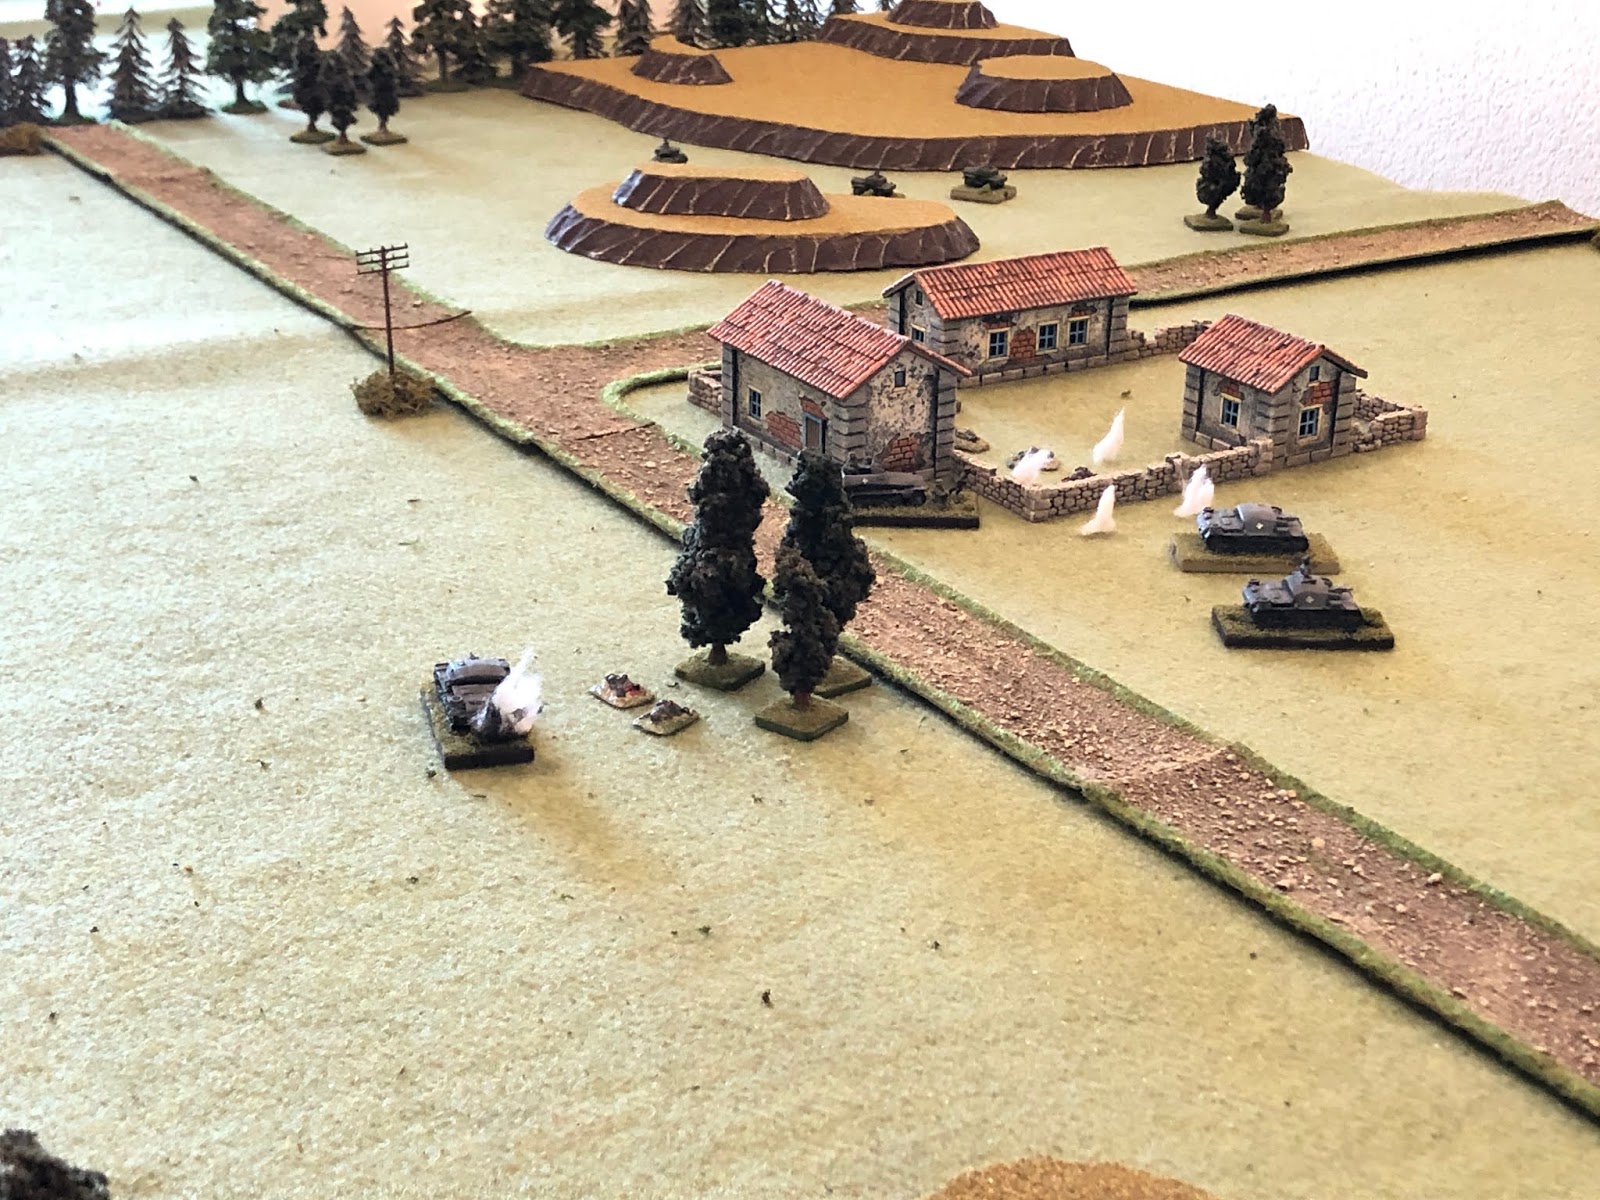
They pour into the stone buildings, and after a short, sharp firefight the remaining Royal Engineers (just the PC and one squad) surrender.
As the two other squads head for the hills.
The Stug Platoon pushes forward (center, from bottom right)...
And again engages the NZ Cav (top left)...
But don't hit a damn thing!!!
*Wow, I kinda thought that would be the knockout blow. Guess not...
Back on Hill 415, Major Butler again rallies the MG position: both MGs are good, the PC is up to pinned.
As the 3" mortars (bottom right) fire on the German 1st Gren Plt in the newly acquired hamlet (top left)...
Cpl Lipniki's 4th Squad, 1st Gren Plt is knocked out, and he's killed by a burst.
The NZ Cav (bottom right) engage the German Stug Plt (top left)...
A 2-pdr solid shot immobilizes Officer Cadet Hinkle's command vehicle and the crew bails out. Hinkle is okay and immediately dashes to Sgt Kulle's vehicle and resumes command.
The NZ Cav moves left, the two MG-armed armored cars staying behind the knoll while moving towards the hamlet (center, from far right), as the 2-pdr armed armored car assumes a hull-down position atop the knoll.
The two remaining Stugs turn south (right, from left) to move around the hamlet...
*The Germans rolled another CoC dice, so Capt Freitag called the Stukas back, this time to hit the NZ Cav.
Before engaging Hill 415 at near pointblank range.
The 75mm HE rounds knock out one MG team, pin the other (as well as Major Butler), and suppress the platoon commander.
Lt Klugmann rallies his men, and everyone is ready.
Lt Klugmann and his men charge the British MG position atop Hill 415...
The remaining MG team and their platoon commander are knocked out, before Major Butler and the two mortar teams raise their hands in surrender.
The three NZ Cav armored cars fall back.
This is a major victory for the Germans, with the RE and NZ Cavalry battlegroup nearly eliminated and forced to fall back (to B3, from B1), and Captain Freitag's 1st Schutzen battlegroup pursues, immediately running into the remnants of the New Zealand 21st Infantry Battalion, where our next battle will be fought for the bridge at B2.
So, that was my first run out of this (my new) version of Chain of Command, and I'm pretty happy with how things went. We had some ups and down, ins and outs, pretty exciting (at least from my standpoint), things up in the air until the end, and it all worked. I was particularly happy with how the defender's deployment worked, where they waited and waited and waited, letting the Germans prance all over the table, then sprung their ambush, making things very hairy for the Germans. Things definitely could have gone the other way: say the NZ Cav gunners are a bit more accurate with their fire on the Stug Plt, the 3" mortars are a bit more effective, or the R.E. Platoon in the hamlet doesn't have two squads break and run (and the Germans get three phases to move 1st Gren Plt up and into the hamlet). Pretty cool. Here are the stats:
Casualties:
German losses: 20 casualties, 1 Stug immobilized but repaired in time for the next fight
Commonwealth losses: 20 casualties, 30 captured
Characters:
SSgt Janke, Iron Cross 2nd Class winner and veteran of Poland, France, and Greece, KIA
Cpl Lipnicki, veteran of France and Greece, KIA
SSgt Mader WIA and out of the remainder of the campaign
Awards:
1st Lt Klugmann, Iron Cross 1st and 2nd Class winner and veteran of Poland, France, and Greece, mentioned in dispatches
*Probably would have won him the Iron Cross 1st Class if he didn't already have it, but not enough to get him the Knight's Cross.
Next up, Captain Freitag and his men are right back in the thick of it, taking on some Kiwis to take a bridge.
V/R,
Jack