Here is the second part and finale of Batrep 6, fighting in the outskirts of Frankfurt-am Main. The quick refresher is this: the US right flank is crumbling, almost entirely gone, and the overall tactical commander, Captain Keepers (of Kilo Company), has gone down fighting. The US left flank, a Mech Infantry Platoon (under Lt Rownnan) and part of a tank platoon (under Lt Sorenson), is fending off attacks on its side, and preparing to counterattack to the right in order to kick the Soviets out of the objective buildings (there are five, and the winner is the one that has three, with the US down to two at this point).


US 1st Mech Plt has now been completely eliminated, save one rifle team that is at the crossroads. The US right flank is completely gone, and while the Soviets have not occupied the three objective buildings in the east, there is no one to stop them. The only US option for victory is to keep the two objective buildings it has in the west, and launch a counterattack to take back at least one of the objective buildings in the east. A pretty tall order, if you ask me...


Man, I ain't never rolled like this before!!!


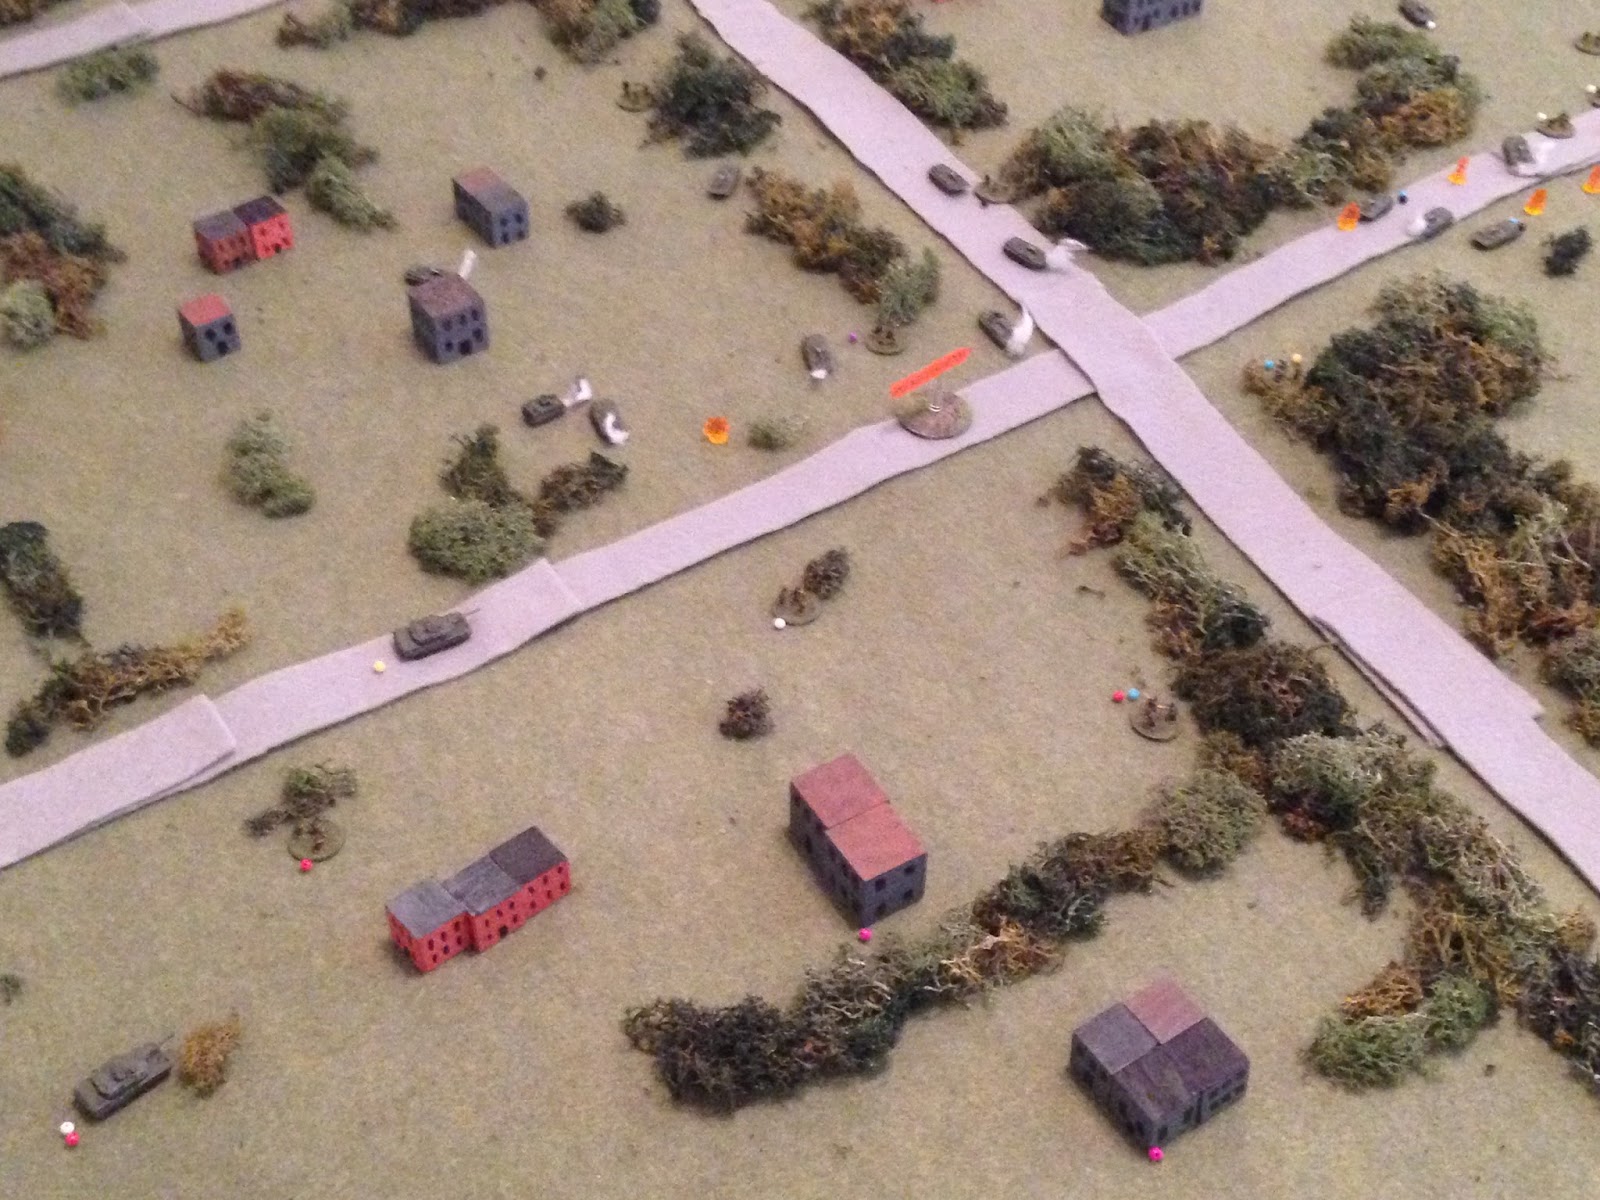
Soviet Mech 1 is on the road at right, Mech 2 infantry is at center left, having captured one of the objective buildings, and you can see one (of three) Soviet tanks at top left. Soviet Mech 3 is off camera to left.


Well, holy @#$%, there goes any shot at a counterattack!!! Now both TOWs are gone, and both tanks and the remaining M-113, MG, and a rifle team are pretty much helpless. Lt Rownnan and two rifle teams are the only ones still in fighting shape over here.
I've got a real bad feeling about this...


And that's how Turn 3 ended.


That is a total of 12 D6 rolled, and not one of the them was a 1 or a 6. This has only been countered by the Apache's own relatively ineffective firing dice...


The far left rifle team manages to self-rally up to pin, while the other two rifle teams are back in good fighting shape.


So the last two US leaders just went out of the fight. The US is now down to its Apache (which is seemingly invisible to the Soviet Air Defense vehicle, but out of Hellfires), their mortar platoon (who are worthless as infantry, firing only with shock dice), an immobilized M1, and three rifle teams (one of which is pinned).


Mech 2 is at far right, and the Soviet tanks are actually off camera to top, moving west (right).


In any case, the 1st Mech Plt rifle rallies itself, and that finishes off Turn 4. Not to let you down, but Turn 5 is largely a formality, there's no way the US is winning this one, even on points, so it's time to take what little is left and get the heck out of dodge.


And their BMPs in the north form up and begin pushing west.
And with that, Team Whiskey, which has been beaten up previously but not beaten, receives its first ass-whoopin'. Here's where you probably expecting me to say something along the lines of, 'well, even though I got my butt kicked it was still a good time.' WRONG!!! That was bull@#$%!!! I can't believe I got my ass handed to me like that, and @#$% this @#$%, I'm done, not playing anymore.
Okay, now that I've got that out of my system, it was a good time, even though I got the tar knocked out of me. Sorry about all of that, I'm neither accustomed to, nor appreciative of, losing at anything (I wasn't in the Army, I'm just playing them here).
So, the fight itself; once again, tactically, Team Whiskey finds itself without appropriate battlefield intelligence. This forces the Team to defend the whole battlefield, whereas the Soviets had clearly scouted out NATO defenses and were thus able to come up with a plan where Mech 1 could pin the US 2nd Mech Plt in place on their right, while the Soviet tanks, Mech 2, and Mech 3 crushed the US 1st Mech Plt on their left. The Soviets made excellent use of their direct support 122mm self-propelled arty, while the US mortars and rotary attack assets weren't nearly as effective as they'd been in previous fights. The Soviet arty was very helpful in keeping the US ATGMs from being able to reload and displace, instead having to spend activations rallying.
So, in my mind, we've seen fight 1 go down just as the US hoped, 2 turn into a dogfight the US barely pulled off, 3 a US win technically but with atrocious casualties, 4 went according to US doctrine, but again with a bit heavier casualties then expected, 5 was just a first-come first-serve dogfight that saw the US have better command and control (luckier activation rolls), and then 6 finally went according to Soviet doctrine, pounding the stuffins out of Team Whiskey by concentrating armor on a narrow front, using economy of force to seal the flank, and arty to keep US anti-tank weapons off them (though they did stumble into their fair share of infantry AT weapons). The only thing that didn't go their way was the fact they didn't shoot down the US helo, though apparently the AAA fire had some effect as the Apache didn't do all that well.
Casualties:
US
3 Command Teams
4 Rifle Teams
2 MG Teams
2 TOW Teams
2 M1 Abrams (one immobilized and destroyed as the US withdrew)
3 M-113s (actually, one was an M557)
Soviet
1 Command Team
7 Rifle Teams
15 BMPs
1 T-72
With regards to characters:
-Captain Keepers, Commanding Officer of Kilo Company, Missing In Action. Last seen clubbing Soviet infantry with an empty M1911.
-Lt Ditteaux, Commander of 1st Mech Plt, Kilo Company, POW/WIA. Fighting naked due to the concussive effects of Soviet artillery blasts, ultimately he was clubbed unconscious by a Soviet rifleman and captured. Awarded the Purple Heart.
-Lt Rownnan, Commander of 2nd Mech Plt, Kilo Company, KIA. Awarded the Distinguished Service Cross for leading his command team in successive close assaults which defeated two enemy rifle teams and a BMP, was ultimately ground into hamburger while counter-charging a charging Soviet BMP with his bayonet.
-Lt Sorenson, Commander of 4th Tank Platoon, Charlie Company, KIA. As Lt Ditteaux, also fighting naked (save for his tank commander's helmet), though no one is sure why, Lt Sorenson was awarded the Bronze Star w/V for manning his burning tank's .50 cal HMG to lay down covering fire so his crew could escape, and became the world's first 'Grilled Danish.'
Well, I hope you guys had a good time, 'cause I sure didn't! ;) Nevertheless, the war goes on, and the table is set for fight number 7, so stay tuned.
V/R,
Jack
Is there anything left of Whiskey? Looks like the Soviets have ground the force down to scraps!
ReplyDeleteRandall,
DeleteYeah man, it's been rough. Whiskey has already had to dig out all the rear echelon folks and dragoon them into the line units, then 3rd Squadron and 4th Squadron (Whiskey) folded into one unit due to casualties. Not sure what they're going to do next, maybe use German Territorials? You can see the current roster here:
http://blackhawkhet.blogspot.com/2015/08/team-whiskey-fulda-gap-roster.html
And look out, I've got officer vacancies to fill so you're likely to be drafted! ;)
Also, I was taking a look at your blogs, good stuff! I really like your War Plan Red deal; I'm certainly into alternate histories and even Imagi-Nations (ergo my Cuba Libre campaign). And I just saw your 'Rounds Down Range 2' blog. You need to turn on the Blogger widget so people can follow your blogs, man. And don't ask me how, somebody had to explain it to me when I started and I don't remember now, sorry...
I like your 5Core Company Command chart; I've basically got the same thing, just hand written, though I've made things even deadlier, and I make ATGMs take an action to reload. There's some other stuff as well, but I'm wanting to hold off on putting it out until I've played these ten scenarios. Ivan (the author) may want to do something with it, we'll see.
In any case, thanks for taking a look and commenting, hope you're enjoying them.
V/R,
Jack
Wow. I knew it happen to happen for a least one game in the 10 you are playing. Probably only one though - I am sure you really do pay the Soviets the best you can, no really, I am sure you do :-) I also really thought Lt Rownnan was going to survive - he had some amazing luck and thought it would last. With two named officers down, I am not sure if I want to be in future games (as if I would have a choice!) but you are running out of Team Whiskey units to field.
ReplyDeleteShaun,
DeleteYeah, it happens every now and again, despite my best efforts and superior strategical mind ;)
Playing the Soviets the best I can is kind of a misnomer; there's always a million of them, so I push them forward as hard as I can. As Ivan's buddy Kruschev said, quantity has a quality all its own. At least you didn't break out the 'magic dice' again; but I'm sure Panda will along at some point...
Yeah, I was kinda hoping Rownnan would make it, he's scored the highest so far in terms of personal awards, but, alas, he was run down like a dog. And whaddaya mean 'down two named officers'? Hell, we lost four named officers just in this fight (you probably don't know him, but Rownnan is a guy from the Pendraken forum)!!! Every name on the roster is someone from the TMP, TWW, Pendraken, or Specialist Military Publishing forums, or someone that comments here on my blog.
Yeah, we're down to the dregs of the Army, as if the Army wasn't merely dregs to begin with! Thanks for checking in man, now if I can only get Ivan to take a look.
V/R,
Jack
OK, lots of officers down. I recognised most names, but not all of them and it did not click they could be from elsewhere. My apologies to Mr Rownnan!
ReplyDeleteI did not resort to "magic dice" as they were hot for the Soviets, not you :-)
Yeah, you guys are dropping like flies. Wait 'til you see the next one ;)
DeleteV/R,
Jack
With all of the Whiskey officers lost (and presumably the Soviet front-line troops also taking a beating), at one point do one or both forces drop in quality? I'm not sure if that is something to even factor into a series of games on this scale, or if the rules allow for different troop quality.
ReplyDeleteFrogfan,
ReplyDeleteYeah, both sides have been beaten to hell. The rules do have mechanisms to deal with different quality troops, but I hadn't even really thought about it, to be honest. My thinking right now is that both sides are dropping, so, relatively speaking, there's no change. I hope that makes sense.
V/R,
Jack